Build a chat application with Express and Socket.io

Hey guys, In this article, we would be building a real chat application. Building a chat application is really easy.
For this application, we would be using Express.js and Socket.io.
I would recommend you to code along with me to better understand the code.
So, Let’s begin 😉
Step 0: Setting up the project
Firstly, let's create a folder chatApp
After then create the following two new folders inside the chatApp folder:
server
client

Step 1.1: Server
Now, head over to the server folder and run the following command:
npm init
After initializing package.json lets now install some dependencies
npm install socket.io
Great, and finally let's create our index.js file
Now, let's have our boilerplate code to server/index.js
const http = require('http');
const socket = require('socket.io');

const server = http.createServer();
const io = socket(server);

server.listen(8080, () => console.log(`Server Running`))
In the above code firstly we required the node’s build-in HTTP module and created a server using createServer() method.
Then, we imported our socket.io and named it as socket which returns a function.
Finally, we initialised our io by calling the function socket and passed our server as parameter to it.
Great, now we have successfully created a server and initialized our io.
Step 1 Creating socket.io listeners on the backend
const http = require('http');
const socket = require('socket.io');

const server = http.createServer();
const io = socket(server);

io.on('connection', socket => {
  console.log('A new user has joined the chat')

  socket.emit('message', 'You have successfully joined the chat')

})

server.listen(8080, () => console.log(`Server Running`))
Whenever there is a new user or a connection joins the chat, the ‘connection’ event is fired by the socket.io, to which we are listening with the .on method.
so io.on(‘connection’), means whenever there is a connection this function will be called. This function has a second argument which is a callback function that has access to a single parameter and that is a socket. The socket contains information about the user who has just joined.
So whenever a new user joins the chat, our server would log A new user has joined the chat. Also, we must welcome the user who has just joined by saying, You have successfully joined the chat.
So, to send a message only to a particular user who has just joined we do:
socket.emit('message', '**You have successfully joined the chat');**
.emit method is used to fire up an event where the first parameter is event name and second is the data.
With that being set now let us set up our listeners for the incoming and outgoing chat messages.
So to listen to an event we use the .on method.
const http = require('http');
const socket = require('socket.io');
const server = http.createServer();
const io = socket(server);
io.on('connection', socket => {
console.log('A new user has joined the chat')
socket.emit('message', 'You have successfully joined the chat')
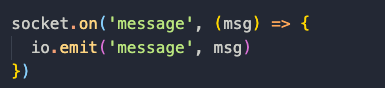
socket.on('message', (msg) => {
io.emit('message', msg)
})
})
server.listen(8080, () => console.log(`Server Running`))
Let me simplify, In the above code, we are listening to an event named as “message” which would be fired up from our frontend later. So whenever a socket ( which is a user ) sends a message we will take that message and send that to everyone. The io means everyone.
socket.emit — Only to the user. IO — To all the users connected to our application.
I hope you got the point. 🤓
Now Run your server:
node index.js
and keep it running…
Good News! 🎉Our backend is complete. Yes! That's it.
Step 1.2: Creating FrontEnd
Now, navigate to the client folder and create index.html and index.js file.

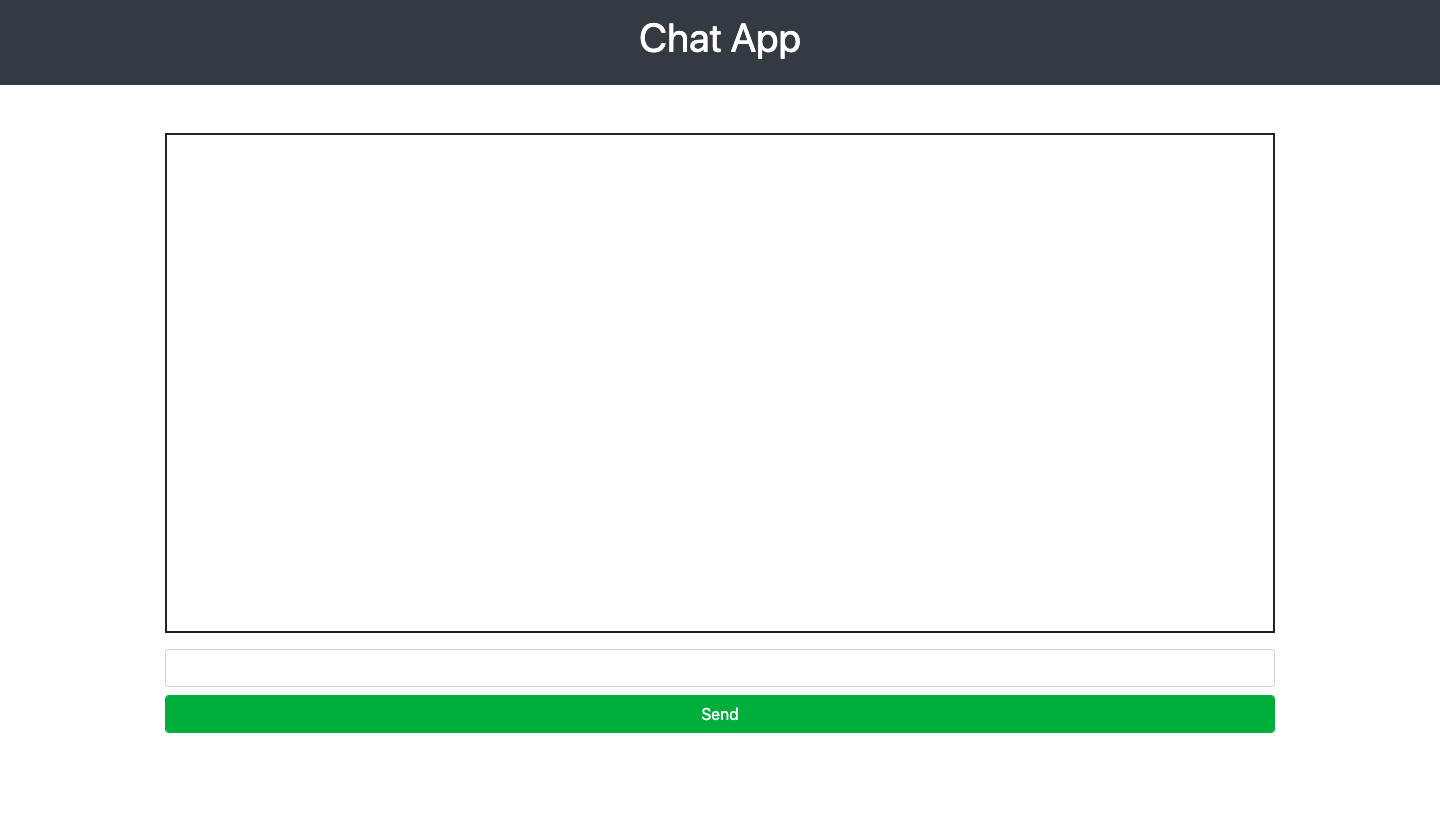
Now, let's design a simple frontend in index.html
Copy the code below into index.html
<!DOCTYPE html>
<html lang="en">
<head>
  <link rel="stylesheet" href="https://stackpath.bootstrapcdn.com/bootstrap/4.4.1/css/bootstrap.min.css">
  <meta charset="UTF-8">
  <meta name="viewport" content="width=device-width, initial-scale=1.0">
  <title>Chat App</title>
  <style>
    .chat-container{
      border: 2px solid;
      padding: 20px;
      height: 500px;
      overflow: scroll;
    }
  </style>
</head>
<body>
  <div class="bg-dark text-white p-3 text-center">
    <h1>Chat App</h1>
  </div>
  <div class="container mt-5">
    <ul id="chat-box" class="list-group chat-container">

    </ul>
    <form class="mt-3" id="chat-form">
      <input type="text" class="form-control" id="messageBox" required/>
      <button type="submit" class="btn btn-success form-control mt-2">Send</button>
    </form>
  </div>
  <script src="https://ajax.googleapis.com/ajax/libs/jquery/3.4.1/jquery.min.js"></script>
  <script src="https://cdnjs.cloudflare.com/ajax/libs/socket.io/2.3.0/socket.io.js"></script>
  <script src="./index.js"></script>
</body>
</html>
Our Design
Now navigate to index.js file in the client folder
const form = document.getElementById('chat-form');
const messageBox = document.getElementById('messageBox');
const chatBox = document.getElementById('chat-box')

const socket = io('localhost:8080');

  socket.on('message', (msg) => {
    const liTag = document.createElement('li');
    liTag.classList.add('list-group-item')
    liTag.innerText = msg;

    chatBox.appendChild(liTag)
  })


form.addEventListener('submit', e => {
  e.preventDefault();
  socket.emit('message', messageBox.value)
  messageBox.value = ''
})
So firstly we initialize our socket variable and pass our servers address.
Then, we listen to the message event fired by our backend which contains the message.
 server/index.js: Rember this?
And finally, we add an event listener to our form and emits the user message to a socket which is being listened by our backend.
Now, on the vscode, run the index.html with live server and test the application
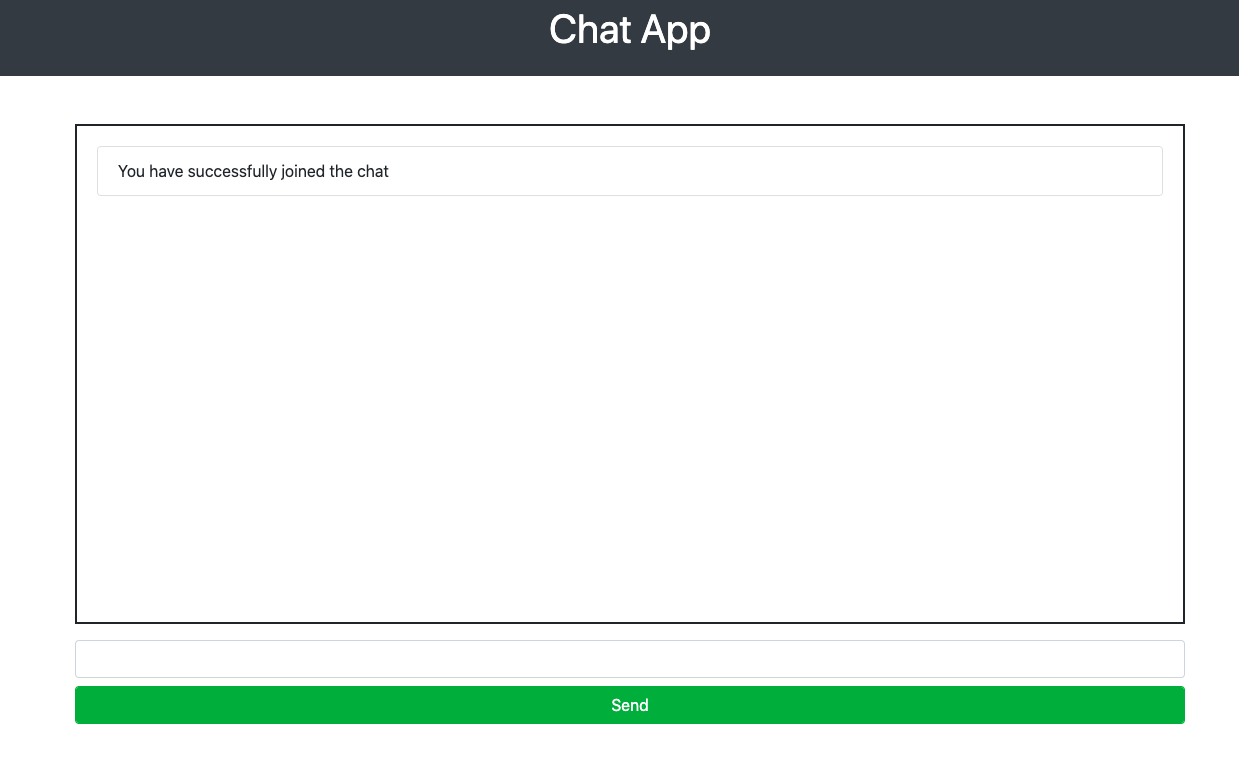 Ohh! I got a welcome Message
 Also, my server says that
Congrats! You have successfully build your own chatting server.
Authentication in Nodejs using Passport.js In this article I would be teaching you authentication in nodejs using express and passport.jsmedium.com Express and MongoDB In this article, I would be teaching you how to use MongoDB with express.js and perform CRUD operations.medium.com Building REST API with Node.js Build your own REST API from scratchmedium.com Top 10 visual studio code extensions 2020 Best vscode extensions to make your development smooth and powerful.medium.com
Social Links:
Github: https://github.com/piyushgarg195
Linkedin: https://www.linkedin.com/in/piyushgarg195/
Website: https://www.piyushgarg.dev/