Hi everyone, In this blog, we will learn how we can create node.js functions locally and deploy them to AWS Lambda using serverless.
So, let's get started.
Step 1. Create an AWS Account ☁️
In order to deploy functions to AWS Lambda, you should have an active AWS account. Creating an AWS account is really easy and straightforward. Head over to Signup AWS and create your free account.
Now, Once you have set up your AWS account, let's head over to the next step.
Step 2. Installations and Setup 🚀
1. Node.js
You must have Node.js installed on your machine. If you don't have node.js installed you can do so simply by visiting https://nodejs.org/en/.
2. AWS CLI Tools
Once you have installed node.js, you now need to install AWS CLI tools on your machine. Installing AWS CLI is really easy. Below are the steps to install the same.
Simply copy-paste the following command on your terminal.
Linux
curl "https://awscli.amazonaws.com/awscli-exe-linux-x86_64.zip" -o "awscliv2.zip"
unzip awscliv2.zip
sudo ./aws/install
MAC OS
curl "https://awscli.amazonaws.com/AWSCLIV2.pkg" -o "AWSCLIV2.pkg"
sudo installer -pkg AWSCLIV2.pkg -target /
Windows
msiexec.exe /i https://awscli.amazonaws.com/AWSCLIV2.msi
Instructions Link: https://docs.aws.amazon.com/cli/latest/userguide/getting-started-install.html
3. Serverless CLI
npm install -g serverless
Serverless Installation Instructions: https://www.serverless.com/framework/docs/getting-started
Great, now that you have everything set up, Let's configure AWS credentials on our local machine.
Step 3: Setting up AWS Credentials
In this step, we are going to set up AWS credentials with our AWS CLI so that our AWS CLI can communicate to our AWS account.
To set up AWS Account credentials, sign in to your AWS Console and follow along with me.
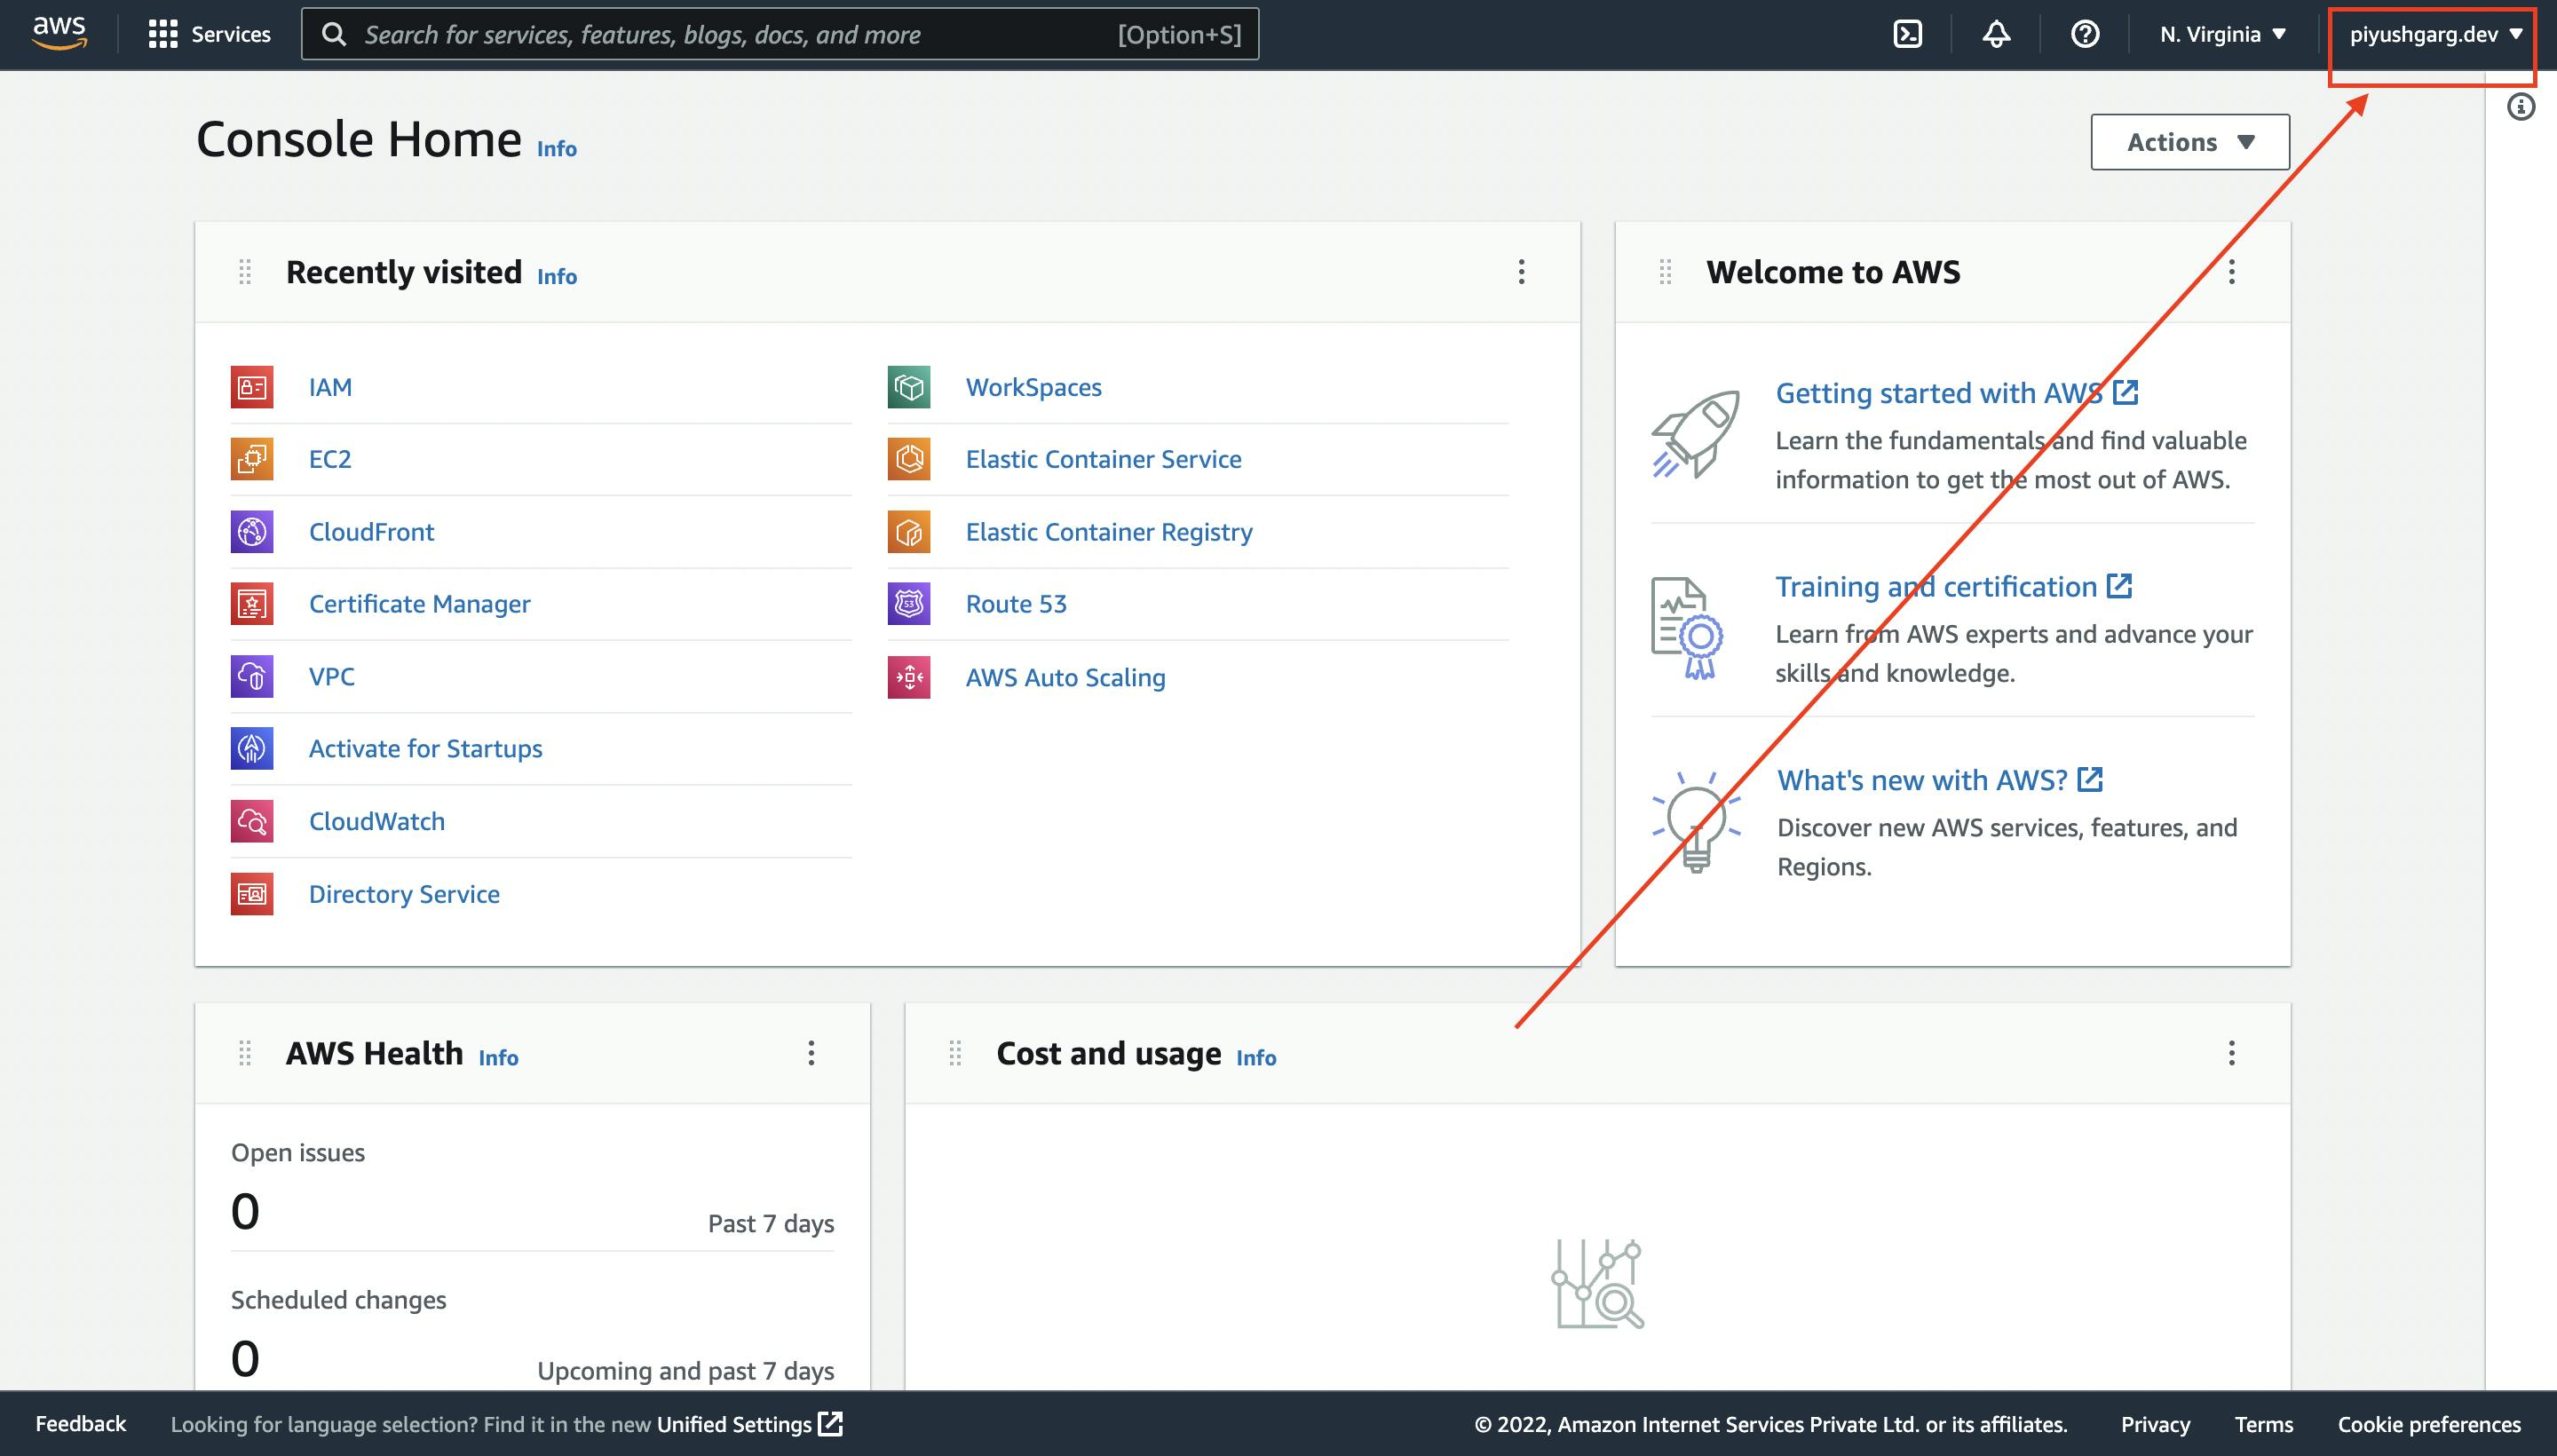
- Click on your account name in the top right corner.
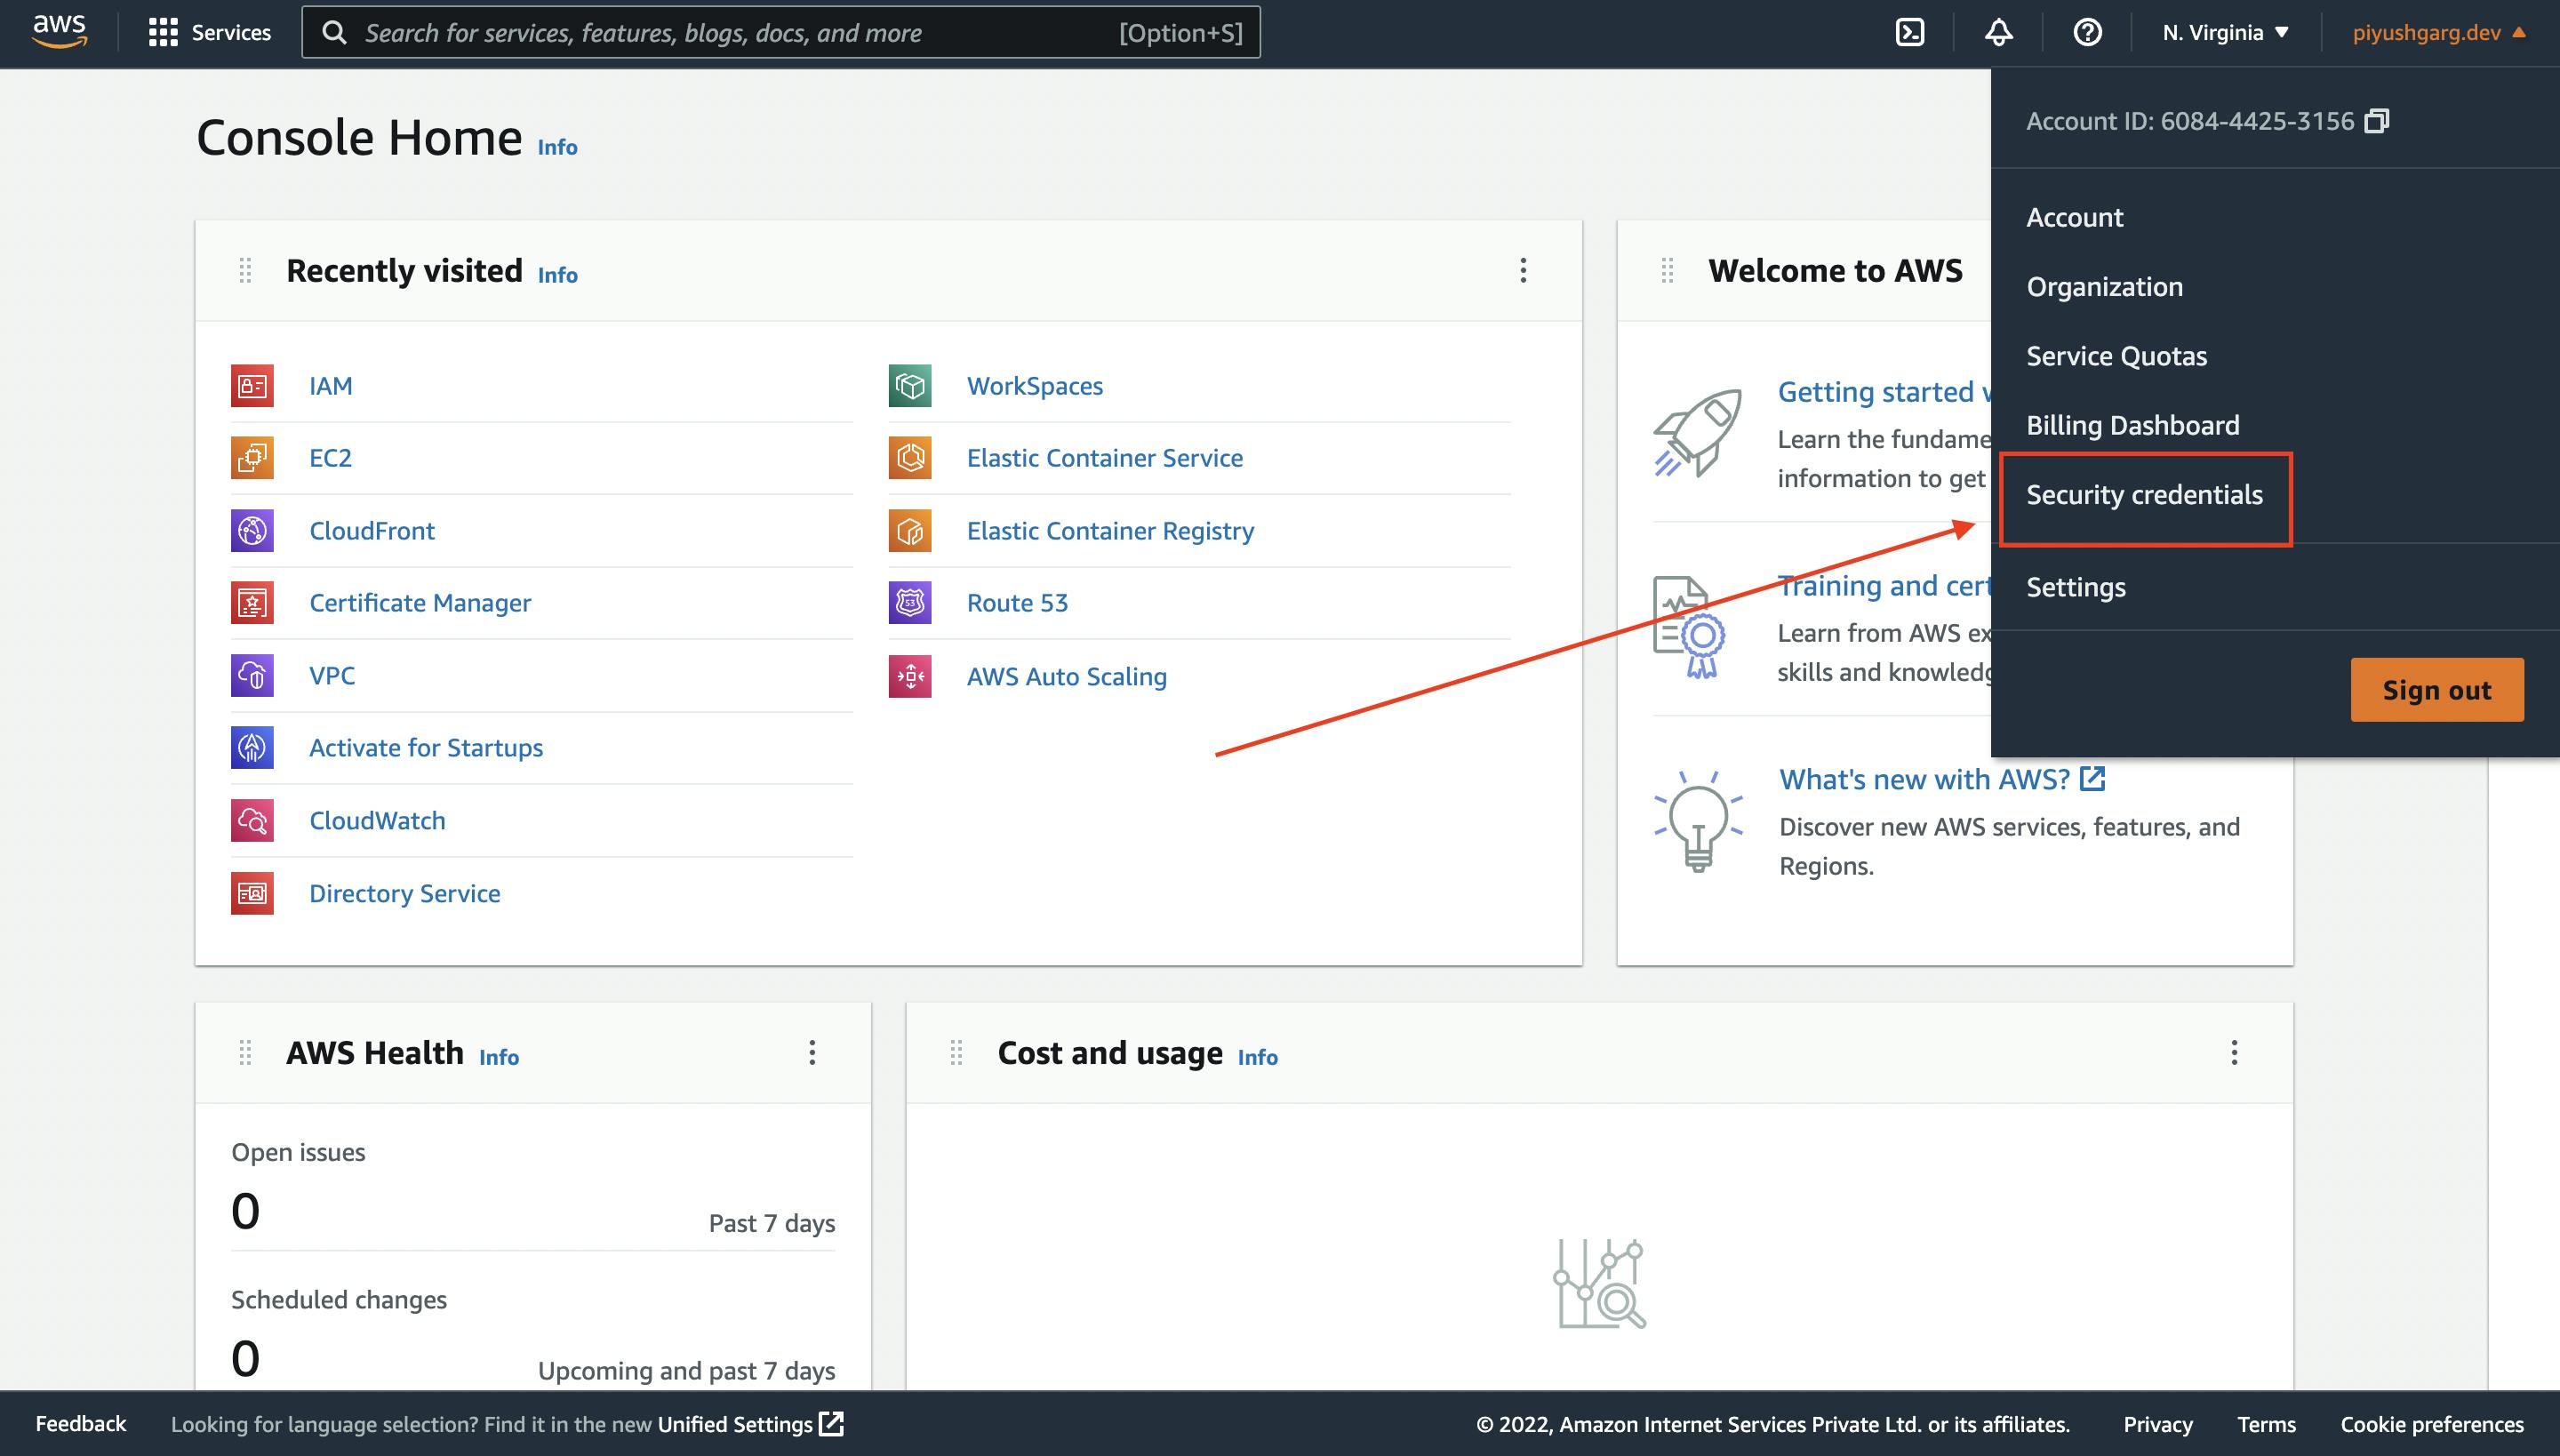
- Click the "Security credentials" option.
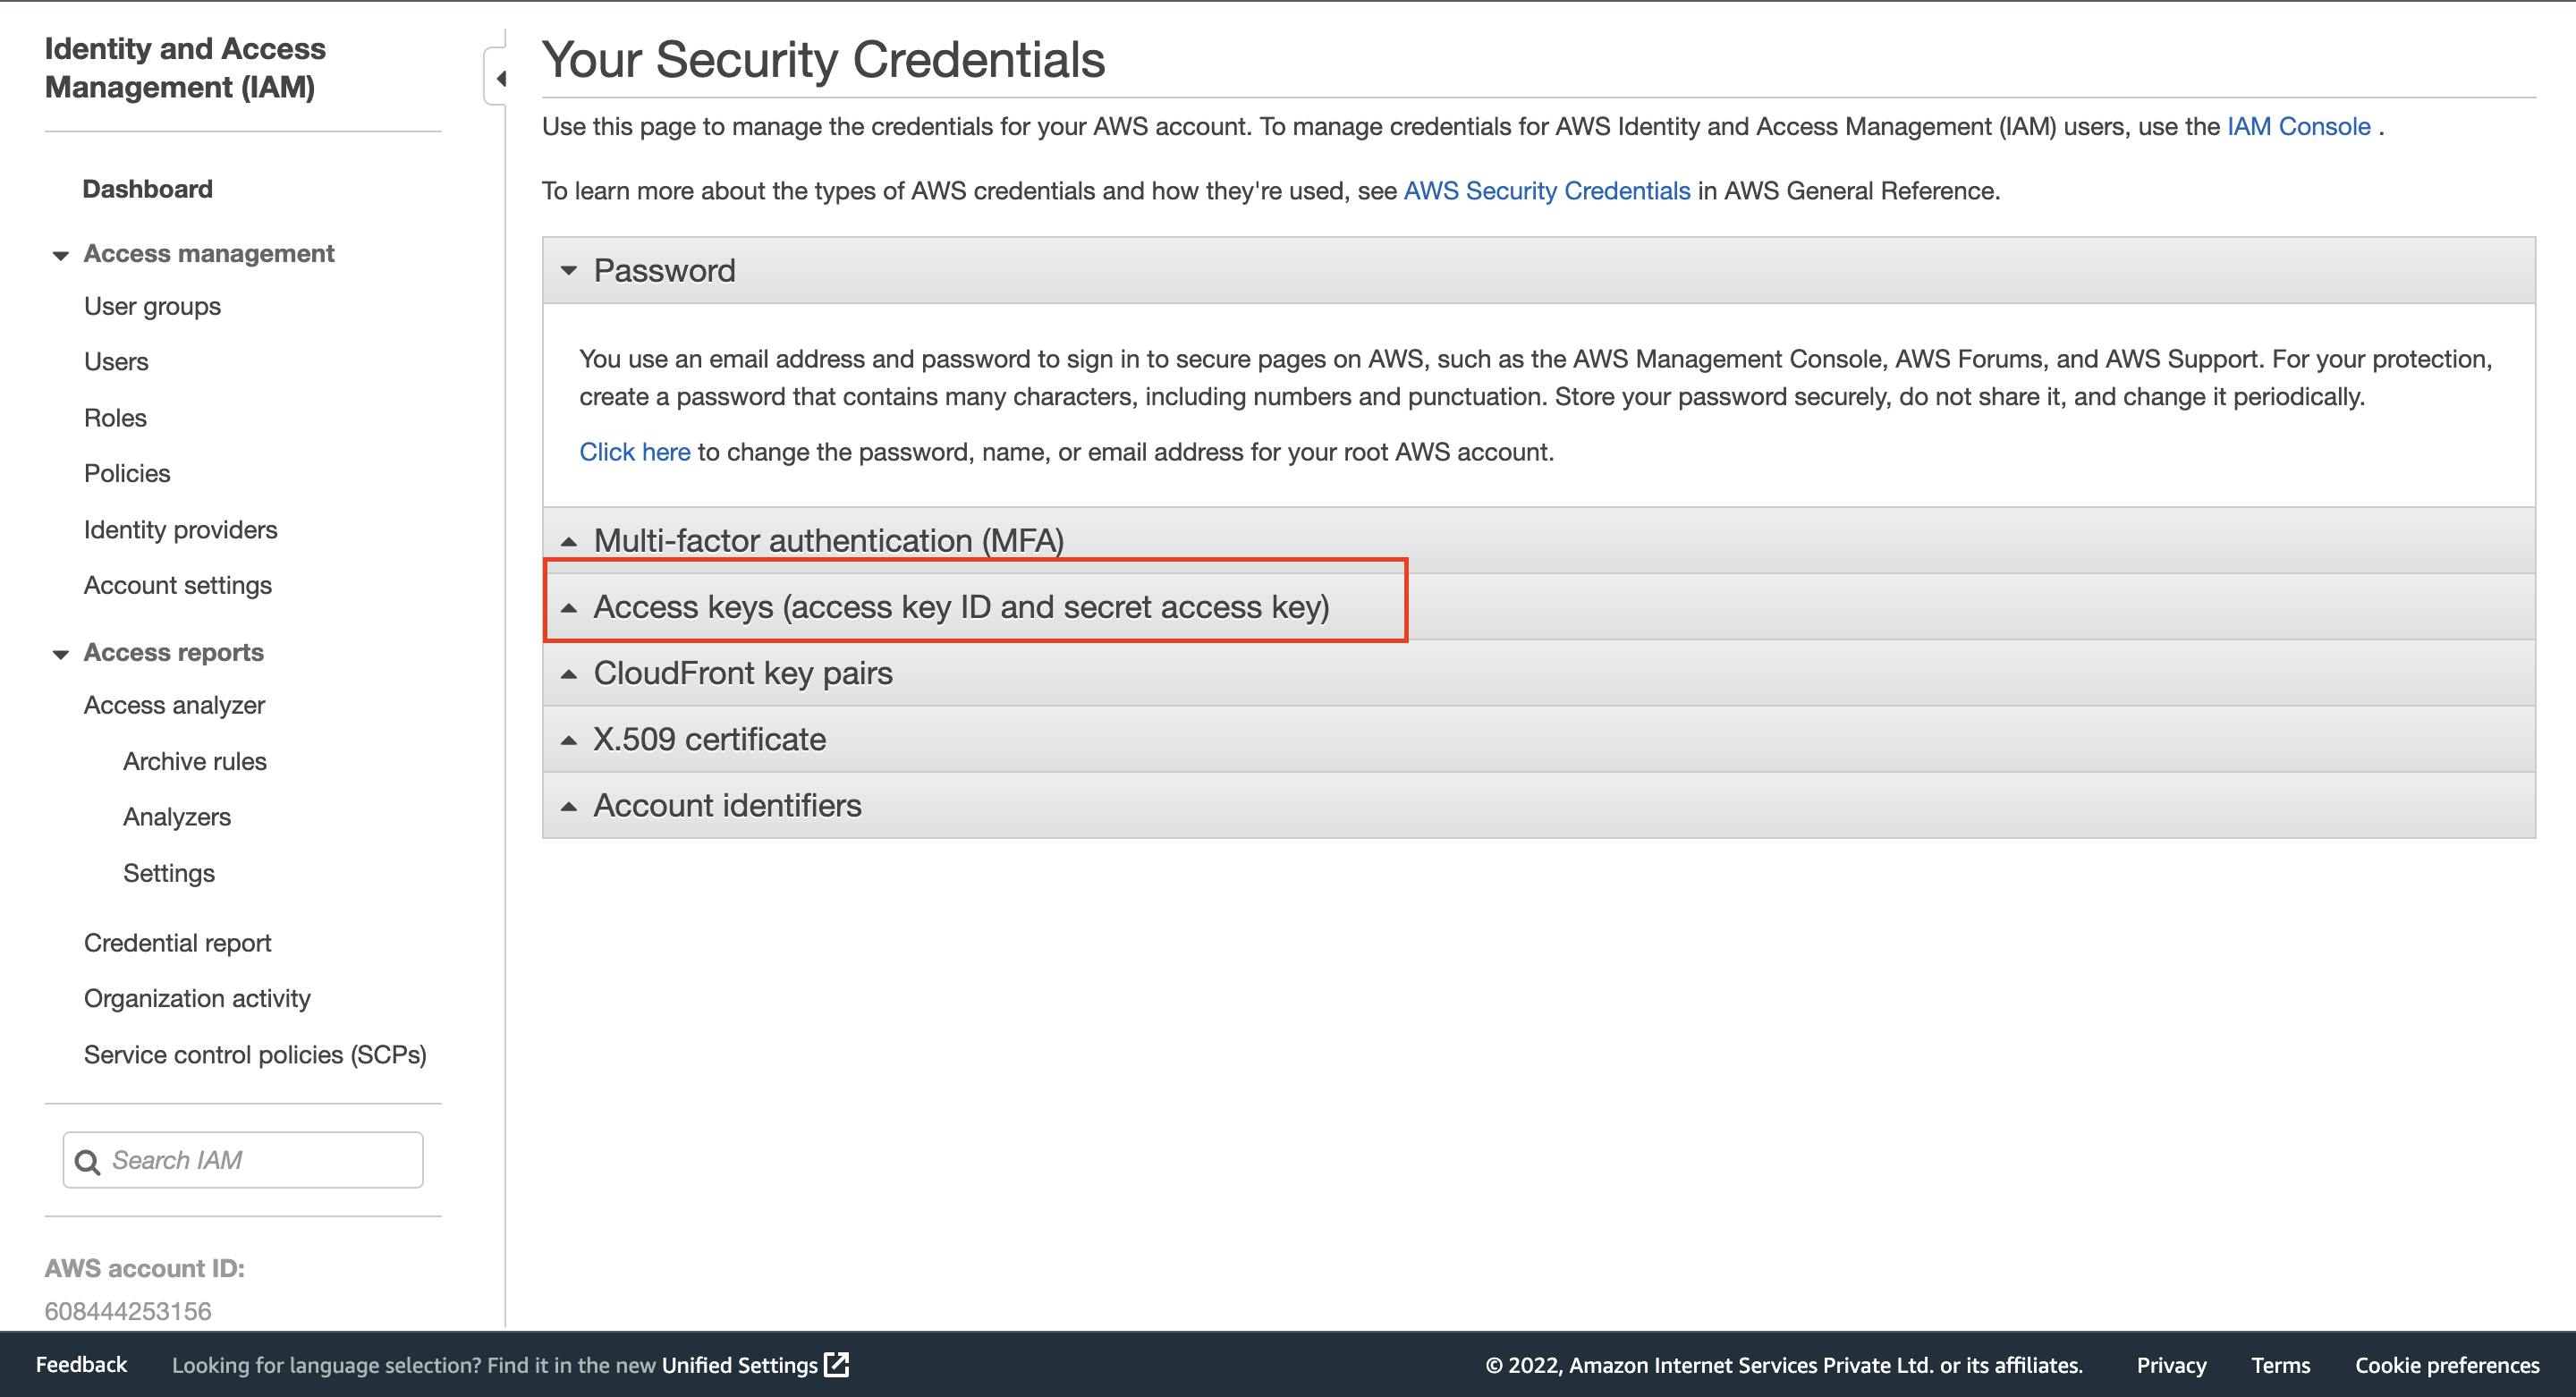
- Expand the "Access Keys" Tab.
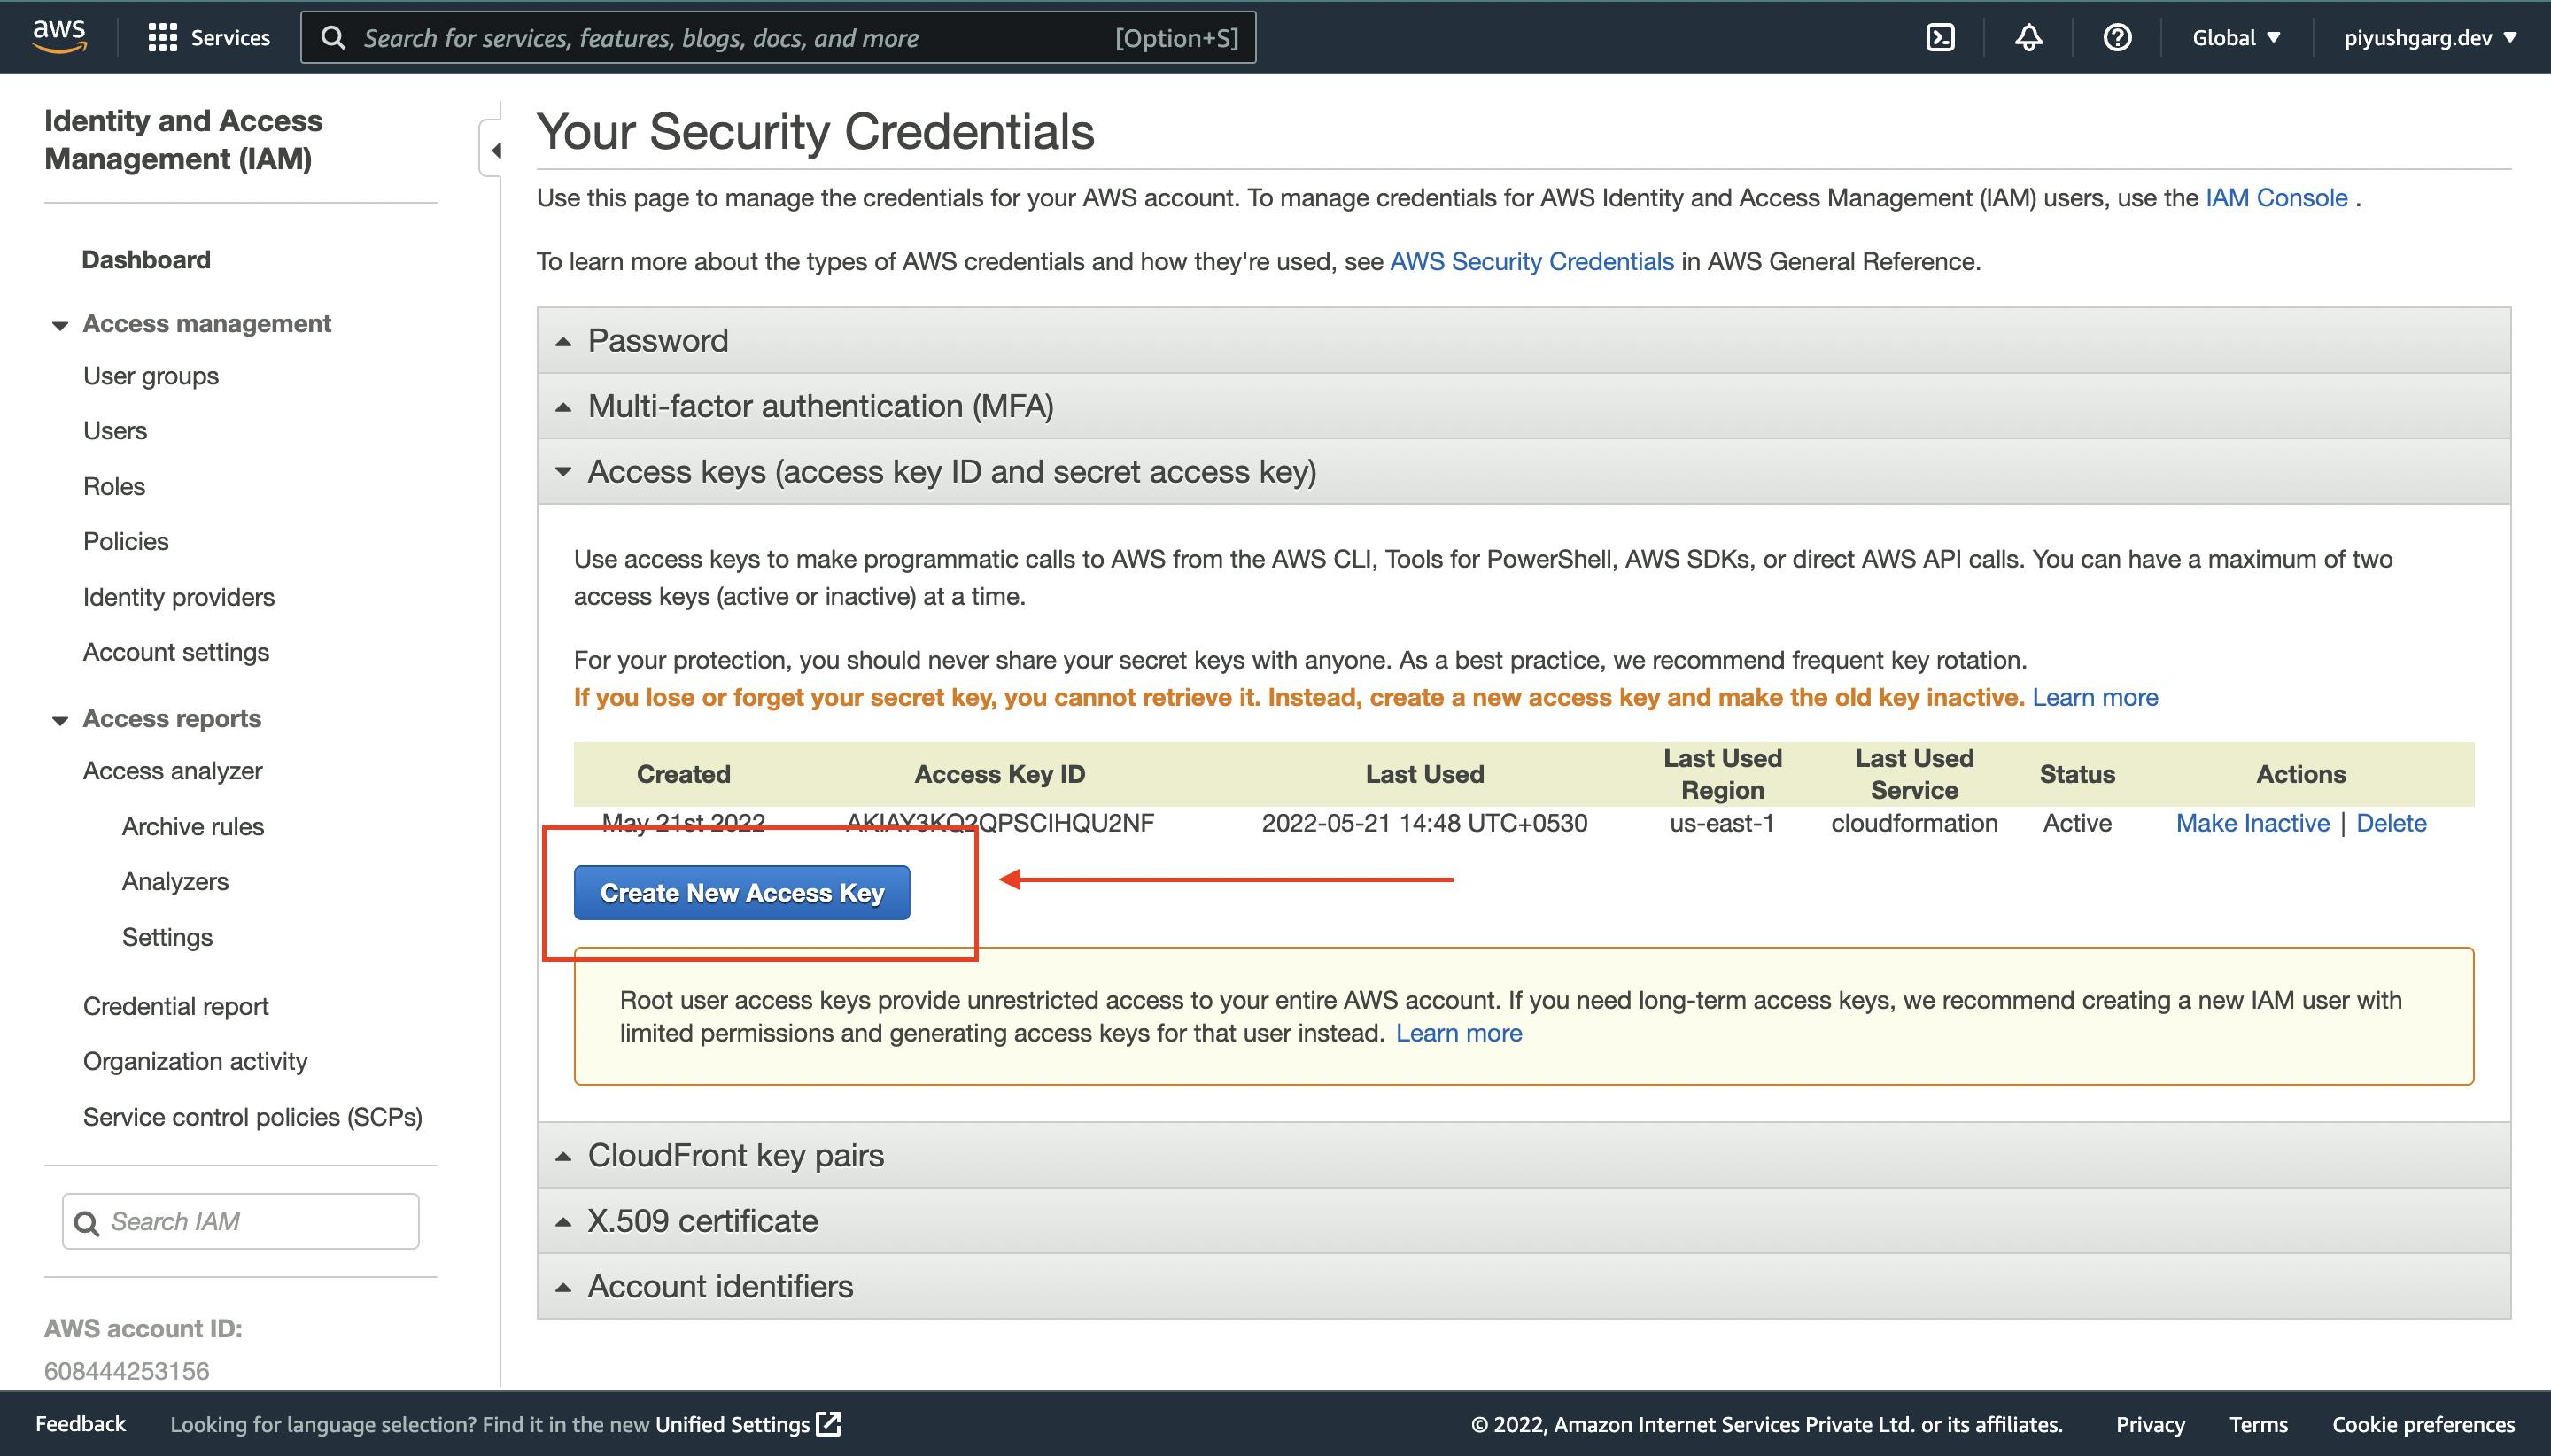
- Click the "Create Access Key" button.
- Copy Your Access ID and Secret.
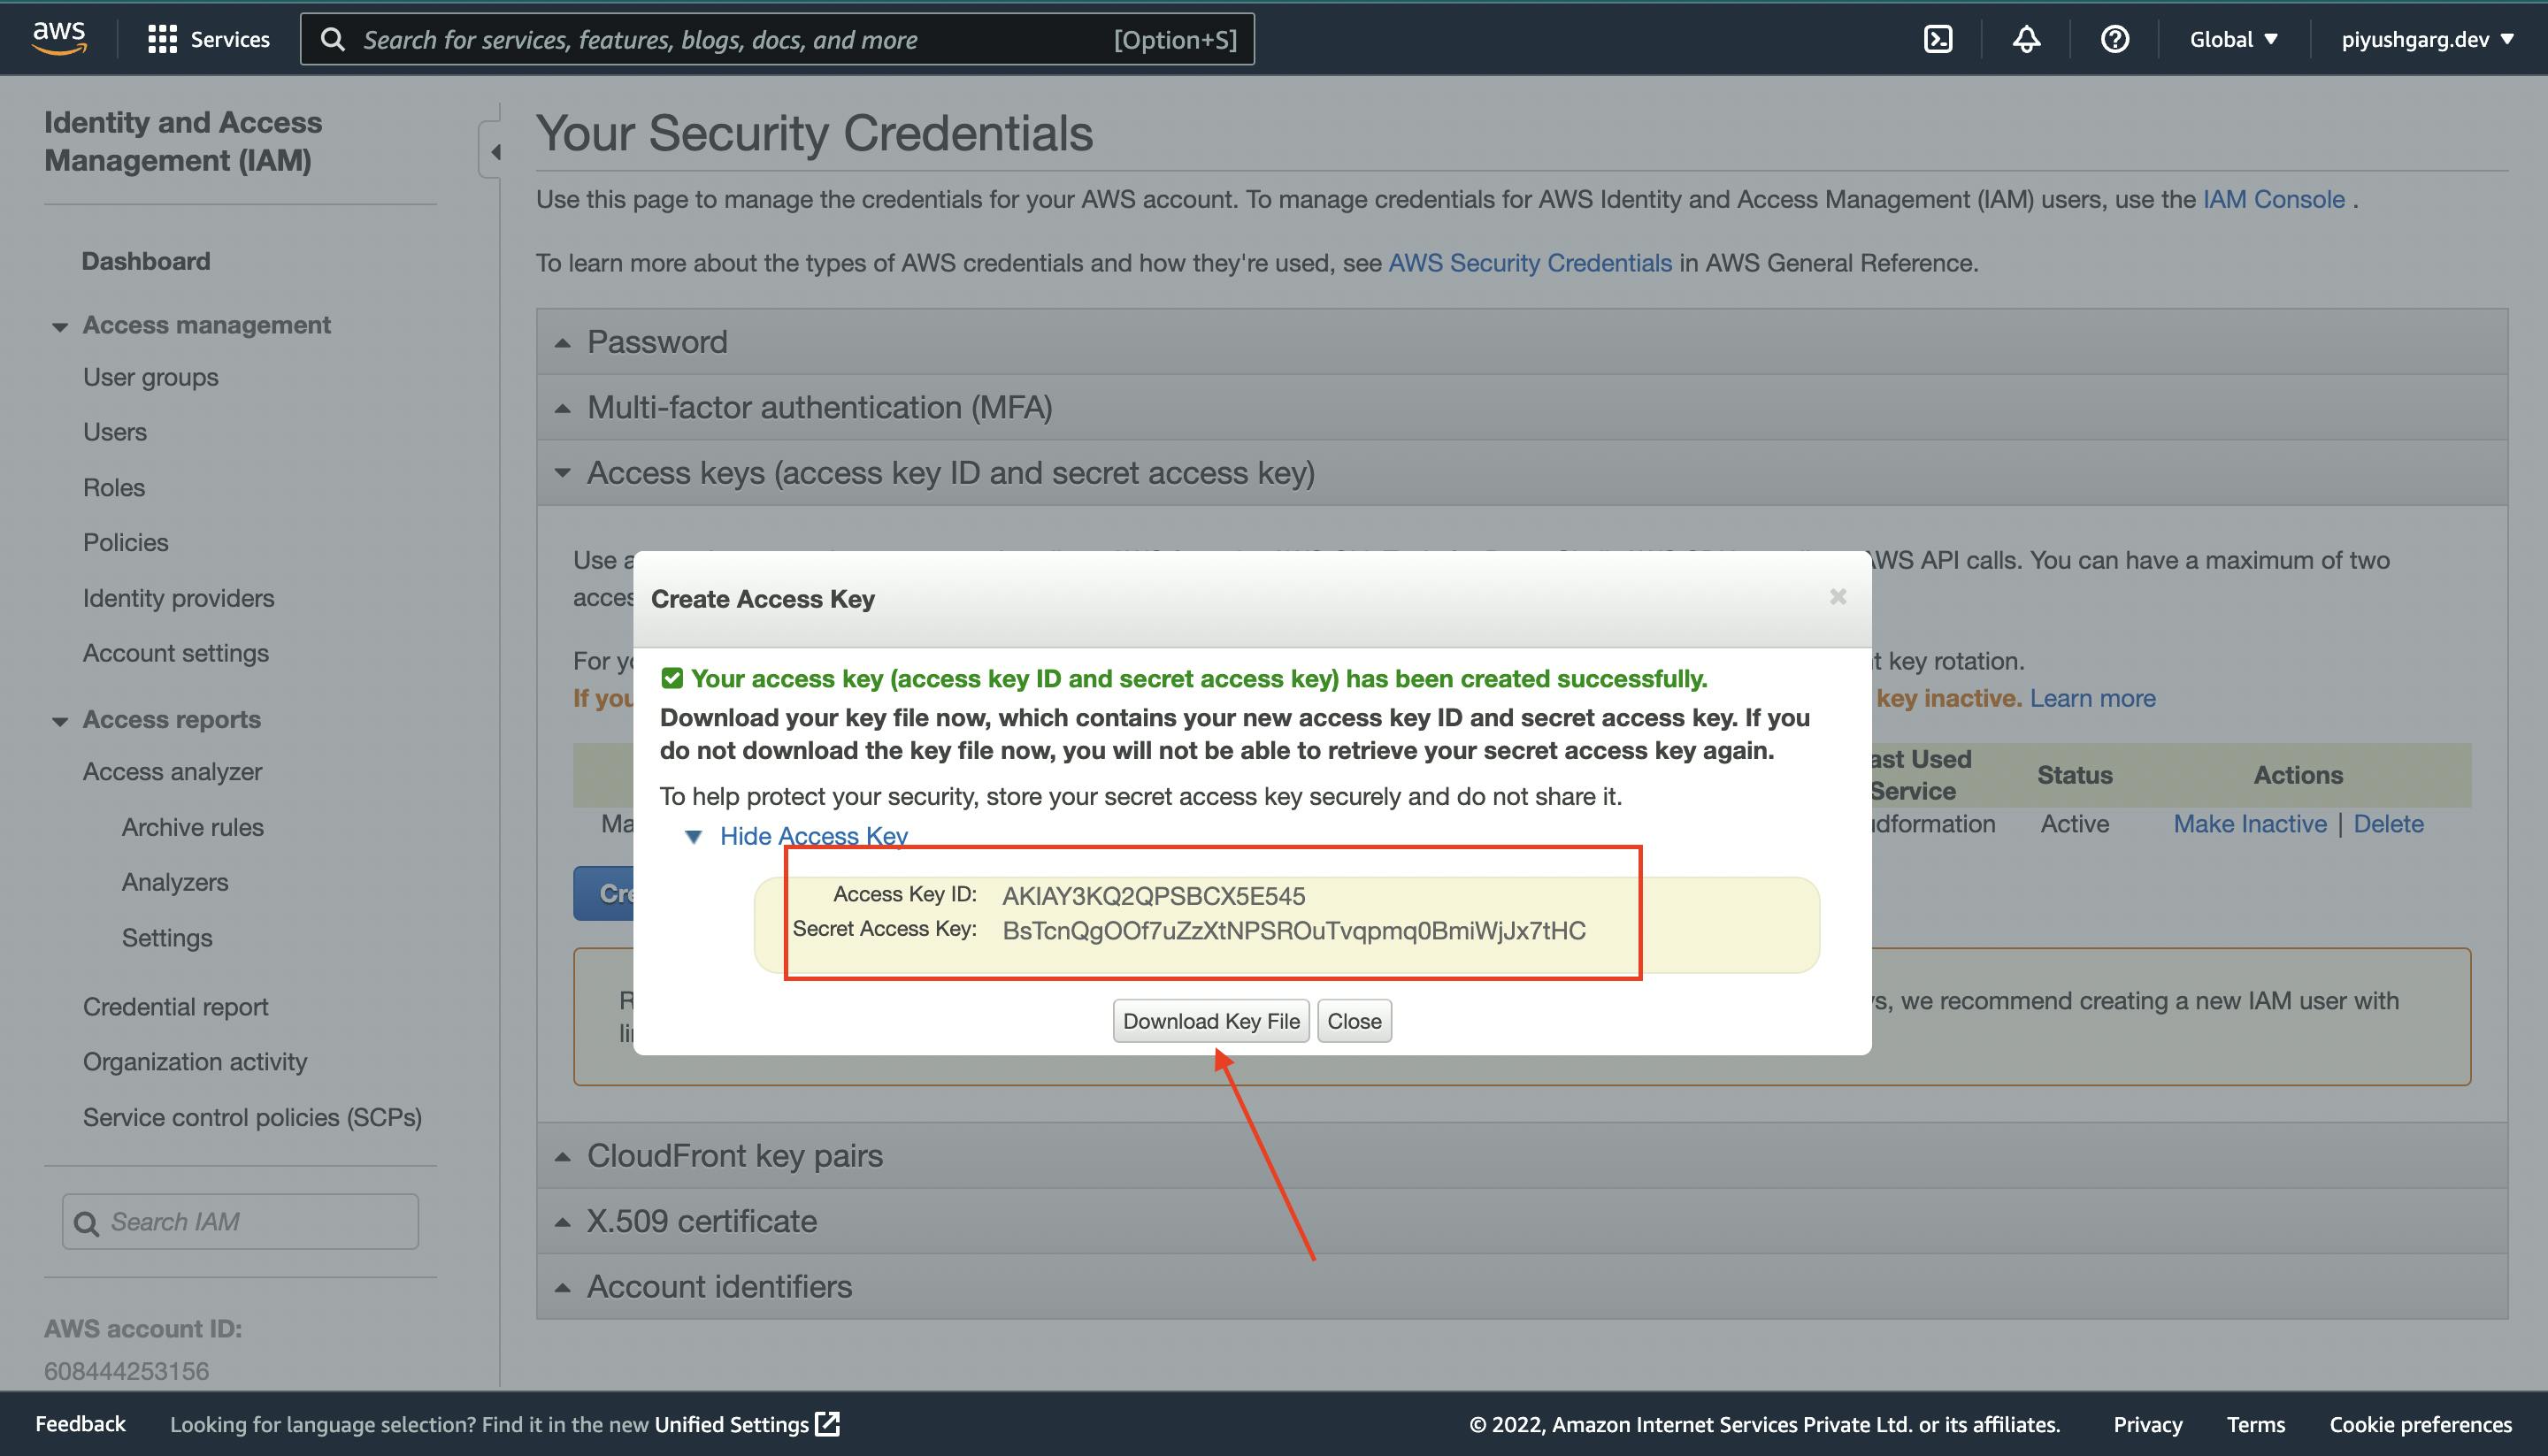
Now, open your terminal and run the following command
aws configure
Paste your Access ID and Secret here and complete the setup

Great, now we are ready to code.
Step 4: Let's Code 🧑🏻💻
In this step, we are going to code our function and deploy it to amazon web services. Open your favourite IDE or text editor (VS code in my case) and follow me along.
First of all, create a new folder and open this folder in your fav text editor. I am going to name my folder my-functions. You can name it whatever you like.
Now open the terminal at the folder and run the following command:
serverless create --template aws-nodejs
The above command would generate some boiler plate code.
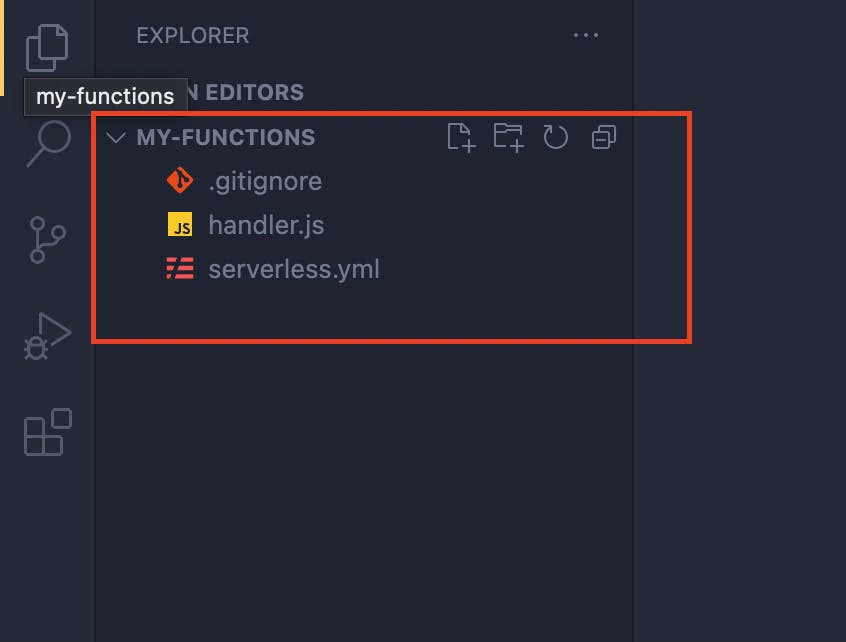
Open the handler.js file and this is the file where are going to write our function. Feel free to remove the existing code in this file and start with a clean file.
module.exports.handlerFunction = async (event, context) => {
  console.log("I am inside aws lambda function");
  return {
    statusCode: 200,
    body: JSON.stringify({ message: "Alright, It is working!" }),
  };
};
Great, now open serverless.yml file and feel free to clear all the content from here as well. Paste the following code in serverless.yml file.
service: my-functions
frameworkVersion: "3"

provider:
  name: aws
  runtime: nodejs12.x

functions:
  myFunction:
    handler: handler.handlerFunction
    events:
      - http:
          path: /api/say-hello
          method: GET
          cors: true
Great, now we are ready to deploy our function to AWS console.
Step 5. Deployment
To deploy your functions to AWS console, simply open your console and paste the following command on the console.
serverless deploy
This will take a while and deploy your functions using the serverless.yml file to your aws console.
Testing our Implementation
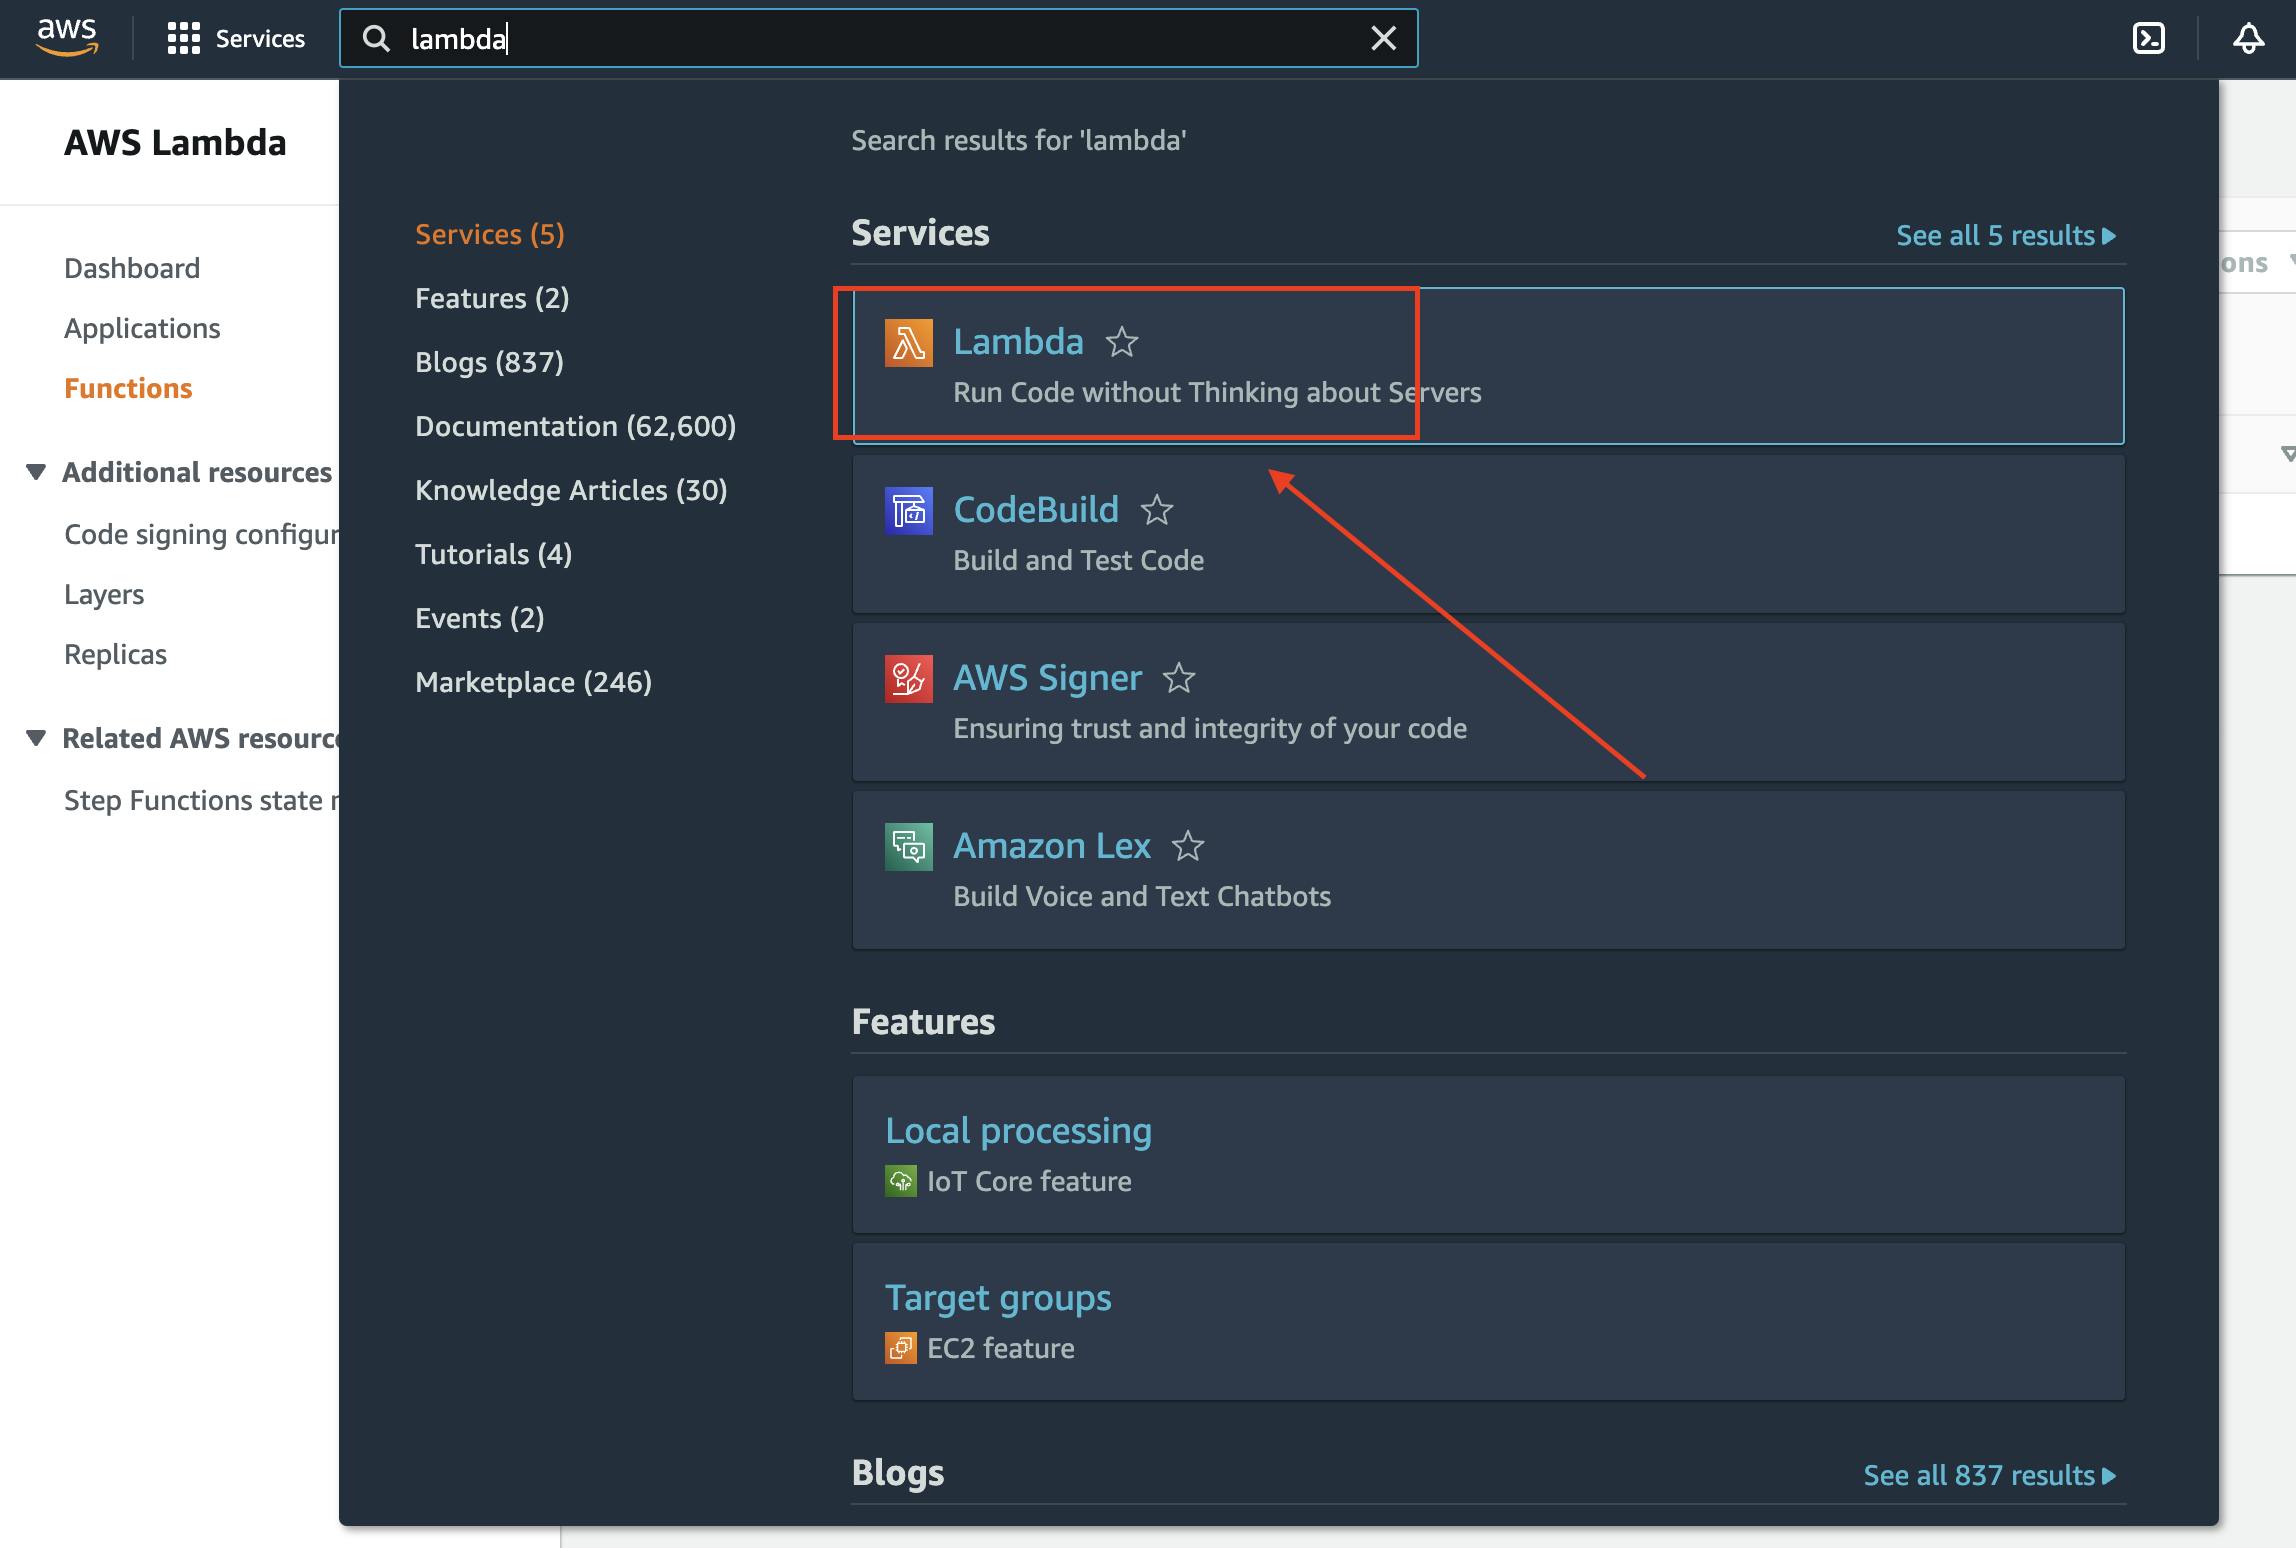
Navigate to your AWS console and search for AWS Lambda
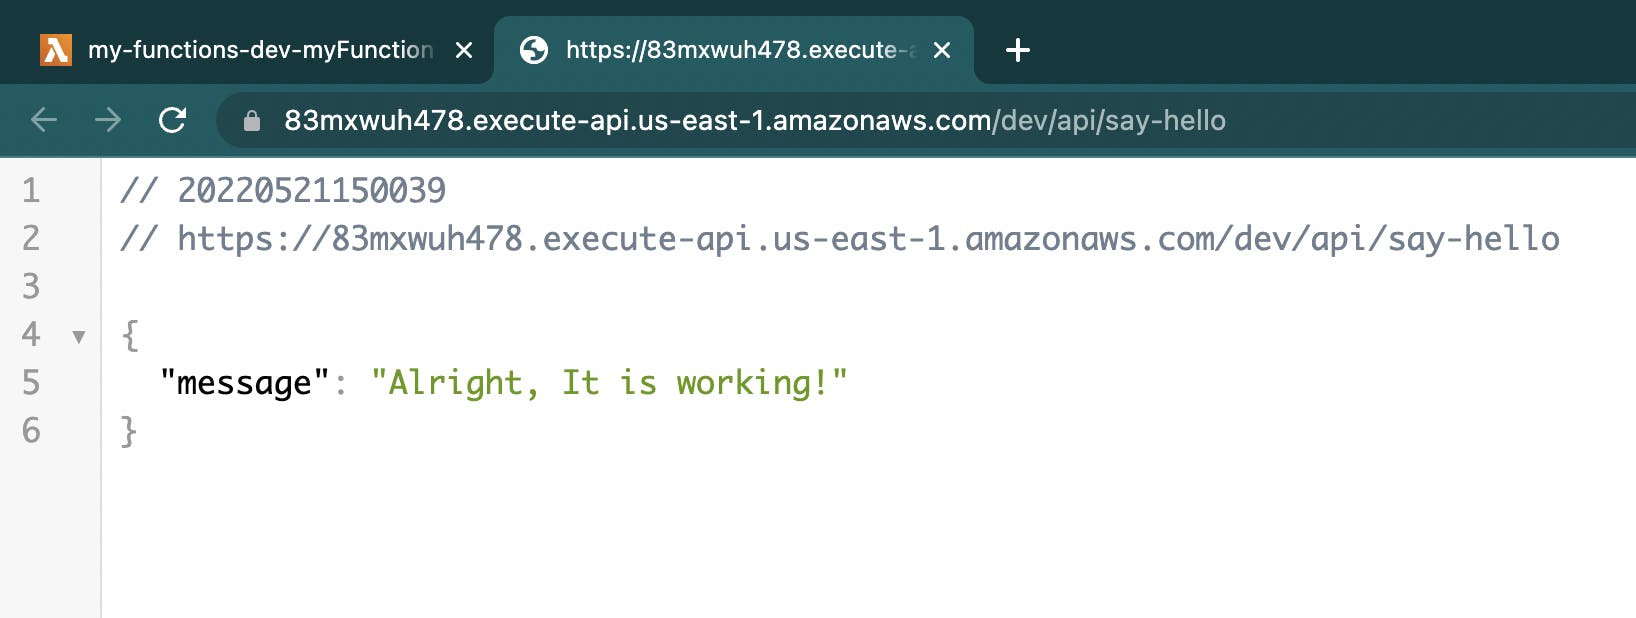
Here I can see that my function is successfully deployed

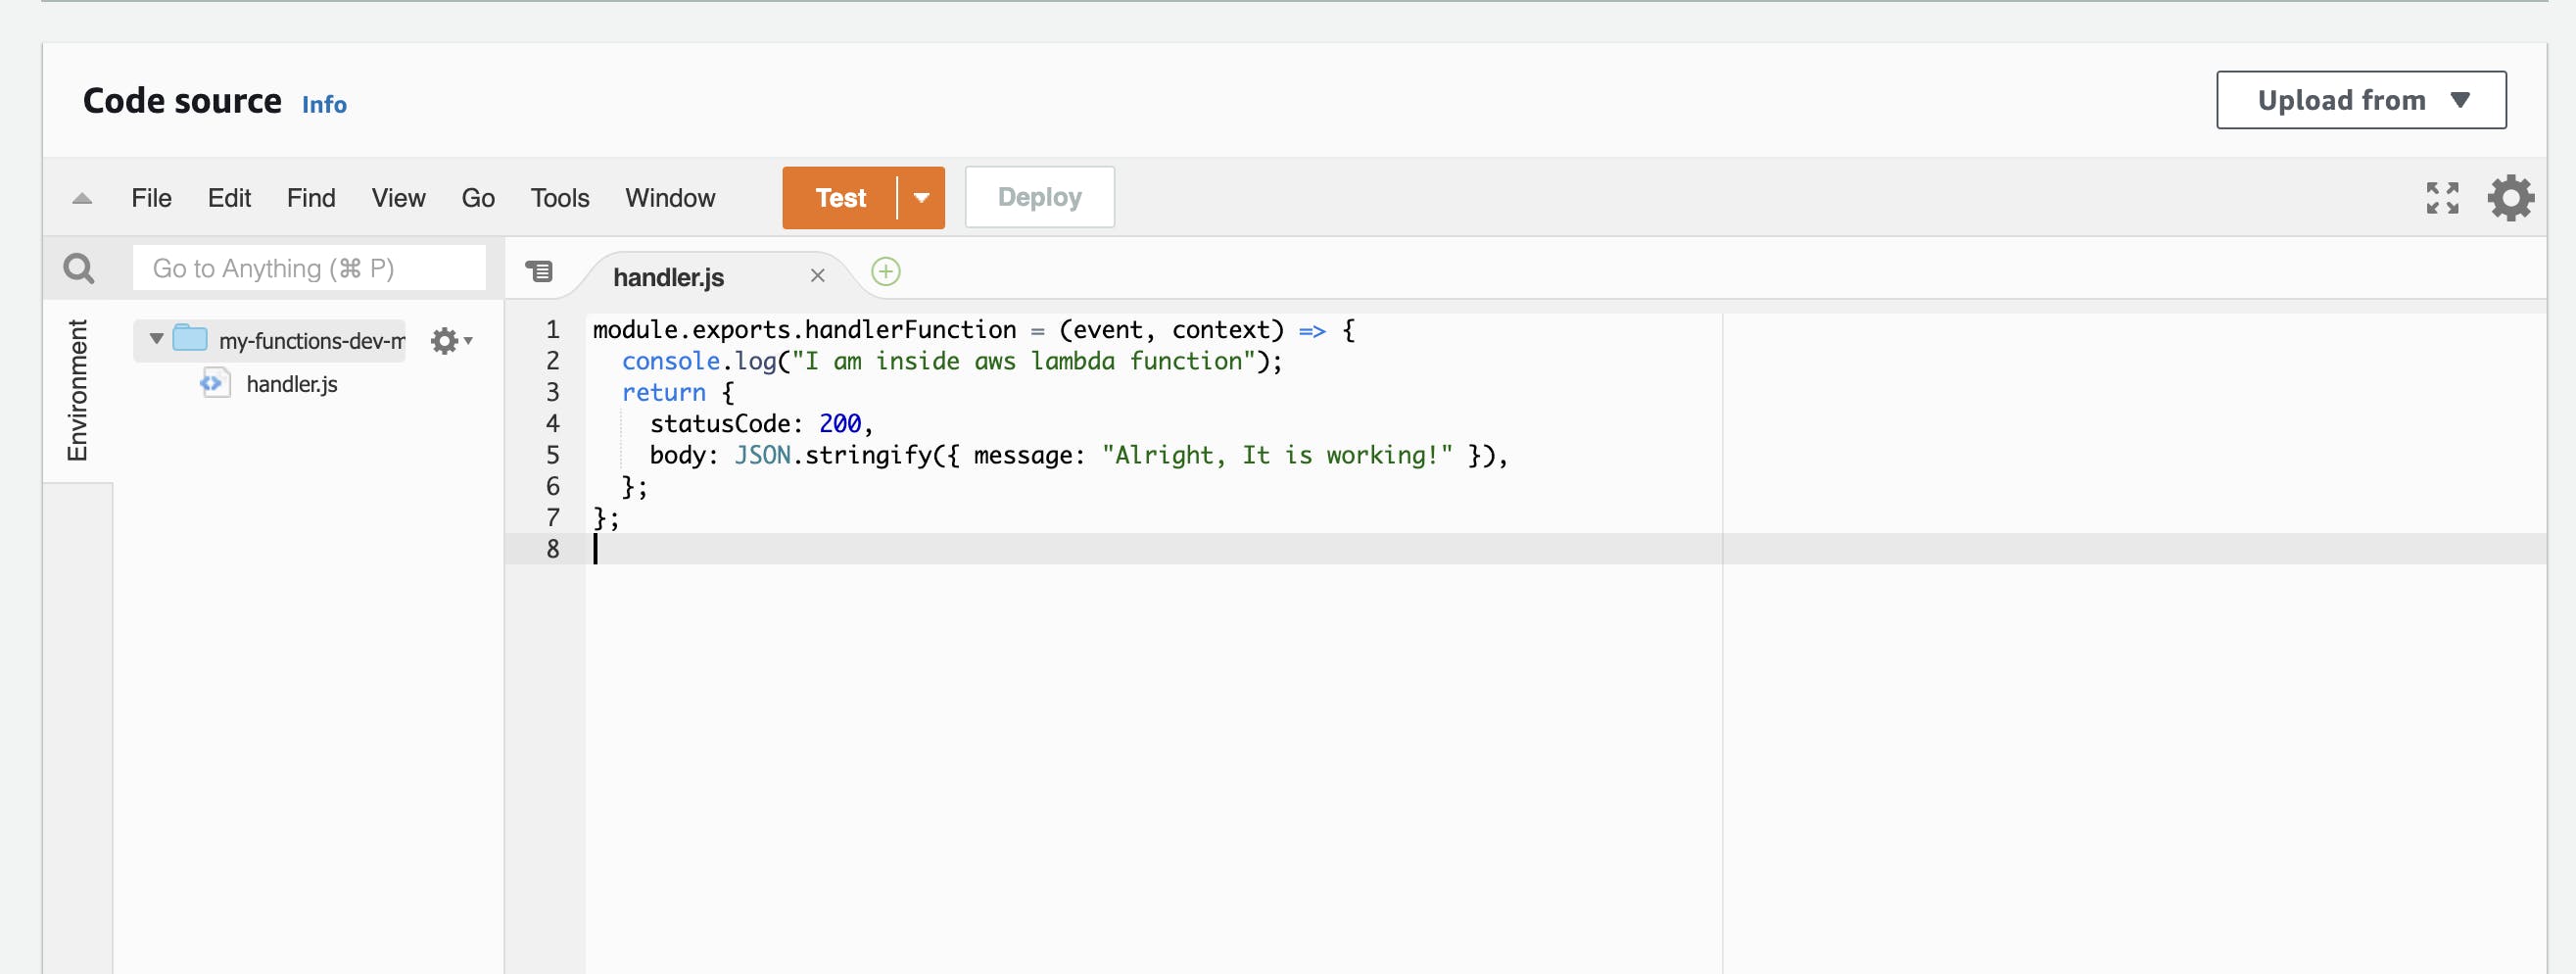
This is the code that we wrote locally and deployed using serverless
Click on the API Gateway icon
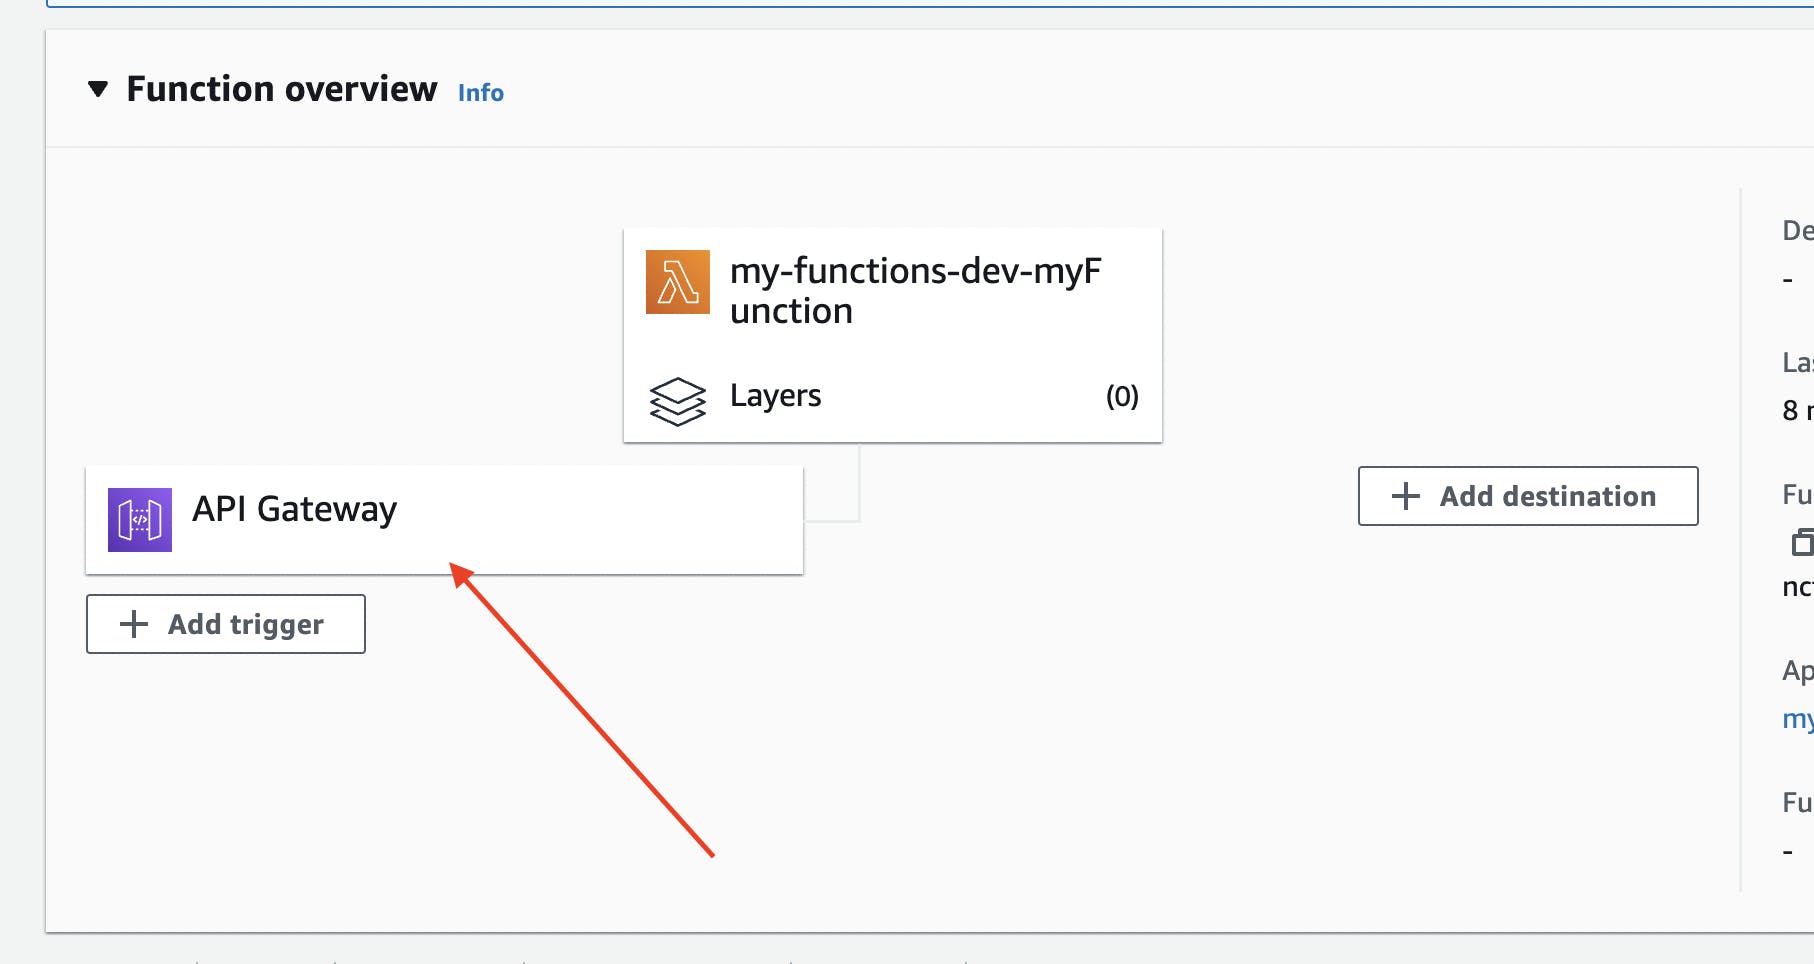
Here is the public endpoint URL to invoke our lambda function

