
Integrate Razorpay Payment Gateway with node.js and express server

Source: Razorpay
Hello reader, in this article I would provide you step by step guide to integrate the Razorpay payment gateway into your node.js application. Trust me, it’s easy than you think.
So, let’s begin…
Step 0: Initialize Project
First things first, so let's create a simple project folder and start our journey.
Here I have created a folder named “razorpay-tutorial”. Now open your terminal in the folder and run the following command to init the node server.
npm init -y
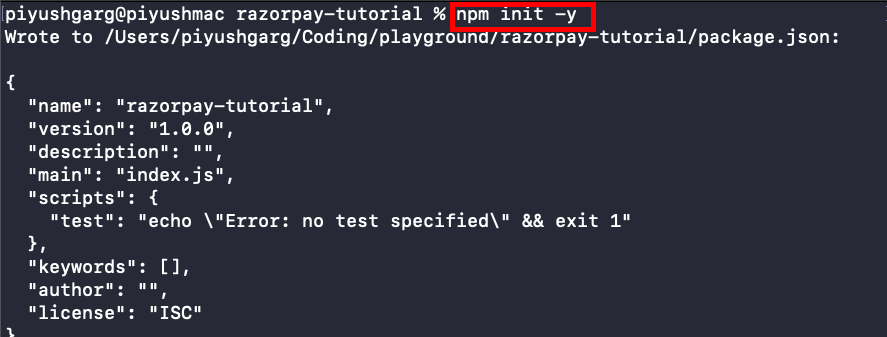
This command would create a package.json file in your project.
Step 1: Install dependencies
In order to integrate razor pay, we need to install the following dependencies.
express
razorpay
Run the following command to install the above dependencies.
npm install express razorpay
Step 2: Create and set up a simple express server
const express = require('express');

const app = express();
const PORT = 8000;


app.listen(PORT, () => console.log(`Express server started at PORT:${PORT}`));
also, create a public folder in your project and serve it via express.

const express = require('express');

const app = express();

const PORT = 8000;

app.use(express.static('./public'));
app.use(express.json());


app.listen(PORT, () => console.log(`Express server started at PORT:${PORT}`));
Step 3: Let's begin with razorpay

To begin with, firstly we have to create an order on our server.
Step 3.1: Creating an order on our server
Note: You need to create an test account on the razorpay. Then in the settings pannel of razorpay, go to API keys and generate keys. Copy the key_id and key_secret.
const { request, response } = require('express');
const express = require('express');
const Razorpay = require('razorpay');

const app = express();

const PORT = 8000;

app.use(express.static('./public'));
app.use(express.json());

app.post('/order', async (request, response) => {

    const amount = request.body.amount;

    if (!amount) return response.json({ message: 'Please provide amount' })

    // Create a razorpayInstance
    const razorpayInstance = new Razorpay({
        key_id: '<YOUR_KEY_ID_HERE>',
        key_secret: '<YOUR_SECRET_HERE>',
     });

     const paymentOptions = {
        amount: amount * 100,
        currency: 'INR',
        receipt: '#1',
     };

     const razorpayOrder = await razorpayInstance.orders.create(paymentOptions);

     return response.json({
        message: 'success',
        order: razorpayOrder
    });

});


app.listen(PORT, () => console.log(`Express server started at PORT:${PORT}`));
As you can see, we have defined a post route “/order” which is responsible for creating an order and return a JSON response with the created order.
Step 3.2 Design our front-end
Navigate to your public folder and add the following code to public/index.html file.
<!DOCTYPE html>
<html lang="en">
<head>
    <meta charset="UTF-8">
    <meta http-equiv="X-UA-Compatible" content="IE=edge">
    <meta name="viewport" content="width=device-width, initial-scale=1.0">
    <title>Razorpay</title>
</head>
<body>
    <div>
        <button id="buy-now-btn">Buy Now</button>
    </div>

    <!-- Razorpay Script -->
    <script src="https://checkout.razorpay.com/v1/checkout.js"></script>

    <script>
        // Get the button
        const buyButton = document.getElementById('buy-now-btn');

        // Add click event listner
        buyButton.addEventListener('click', (event) => {

        });

    </script>
</body>
</html>
Now start your server and head to http://localhost:8000
Run the following command to start the server
node index.js
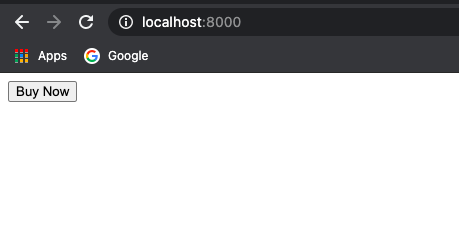
buyButton.addEventListener('click', async (event) => {

            const response = await fetch('/order', {
                method: 'POST',
                headers: {
                    'Content-Type': 'application/json'
                },
                body: JSON.stringify({ amount: 500 }) // Rs.500
            });

            const responseJson = await response.json();

            const { order } = responseJson;

            const razorPayOptions = {
                key: '<YOUR_KEY_ID_HERE>',
                amount: 500,
                currency: 'INR',
                name: `Buy Shirt`,
                description: `Paying for testing`,
                order_id: order.id,
                handler: function (response) { // handler function when payment is successfull
                    const razorpayPaymentId = response['razorpay_payment_id'];
                    const razorpayOrderId = response['razorpay_order_id'];
                    const razorpaySignature = response['razorpay_signature'];

                    console.log('Payment successfull');
                },
            };

            const razorpayInstance = new Razorpay(razorPayOptions);
            razorpayInstance.open();

        });
In your button click event listener add the above code and done. You have successfully integrated the Razorpay gateway.
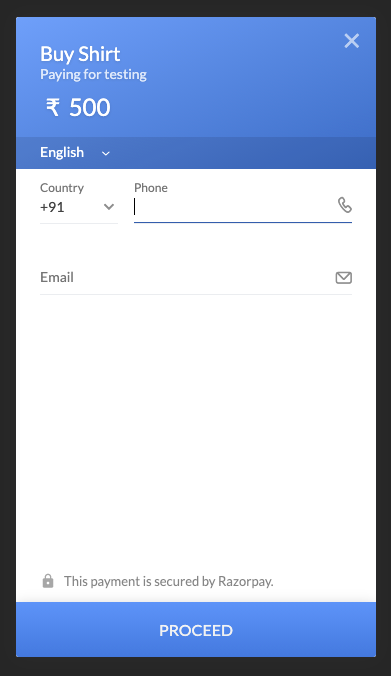
Comments
Join the discussionbhaiya rozerpay with nodejs expressjs per ek video bhee bana do


