In this article, I will be explaining how to implement routing in react app in very simple steps.
Step 1: Install react-router-dom
react-router-dom DOM bindings for React Router. $ npm install --save react-router-dom Then with a module bundler like webpack, use as…npmjs.com
npm install react-router-dom
Step 2: Importing react-router-dom in our project
import React from 'react';
import ReactDOM from 'react-dom';
import './index.css';
import App from './App';
import * as serviceWorker from './serviceWorker';

import {BrowserRouter} from 'react-router-dom'

ReactDOM.render(
  <React.StrictMode>
  <BrowserRouter>
    <App />
  </BrowserRouter>
  </React.StrictMode>,
  document.getElementById('root')
);

serviceWorker.unregister();
In the above code, we have wrapped our <App/> component with <BrowserRouter /> which enables us to use Html 5 history API.
Step 3: Implement Routing
import React from 'react';
import { Switch, Route } from 'react-router-dom'
import './App.css';

import Conatct from './pages/contact'
import Blog from './pages/blog'
import Index from './pages/index'

function App() {
  return (
    <Switch>
      <Route path='/contact' component={ <Contact />}/>
      <Route path='/blogs' component={<Blog />}/>
      <Route exact path='/' component={<Index />}/>
    </Switch>
  );
}

export default App;
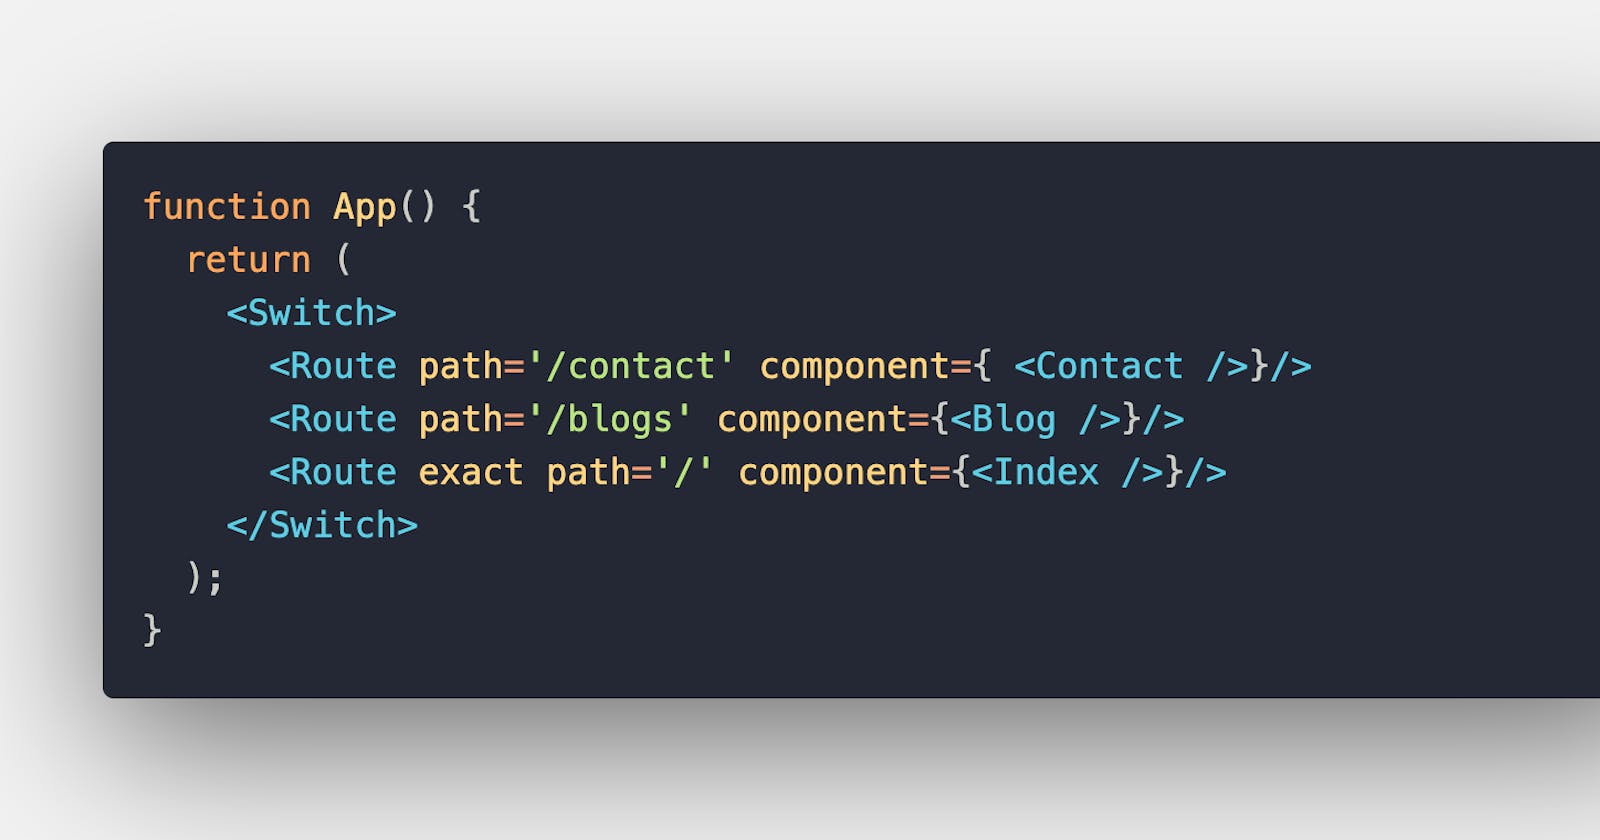
In app.js we need to implement switch cases with various routes as shown in the above code.
Each Route component needs two mandatory props and that is the path and the component to render.
Congratulations, you have now implemented routing in your react app.

