
Uploading images to firebase storage with node.js

Hey there, In this article, we are going to learn how you can upload any file to firebase storage. Uploading files to firebase storage is really easy. I would I recommend you to code along with me for better understanding.
So, let's get started.
Step 1: Setting up a free Firebase account.
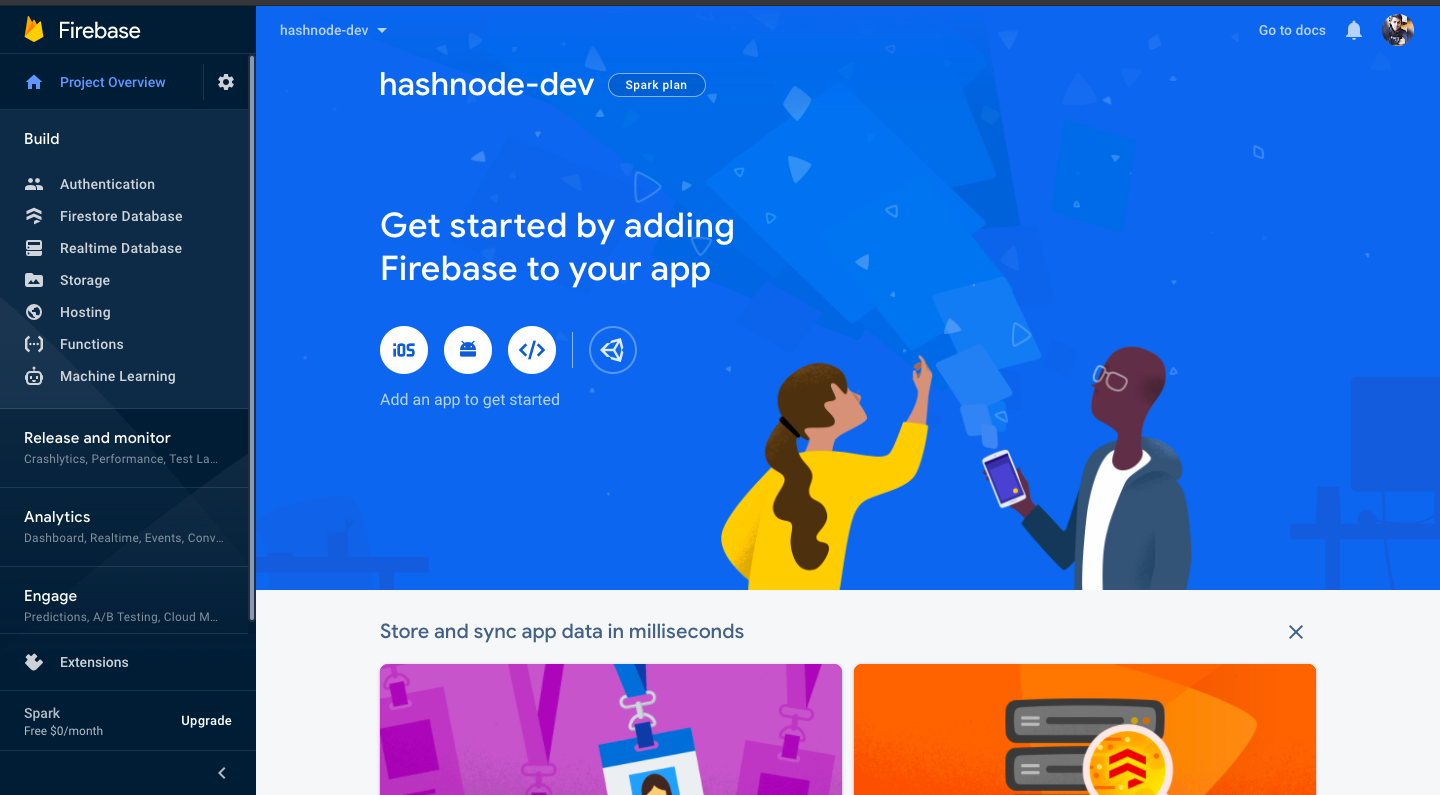
In this step, we would create a project on the firebase console. Navigate to https://firebase.google.com/ and log in with your Google account. It's absolutely free and no credit card required. After logging in, create a project in firebase, and enter any project name of your choice, once done click on submit and wait for the project to finish building up. Now, you would see a dashboard something like this
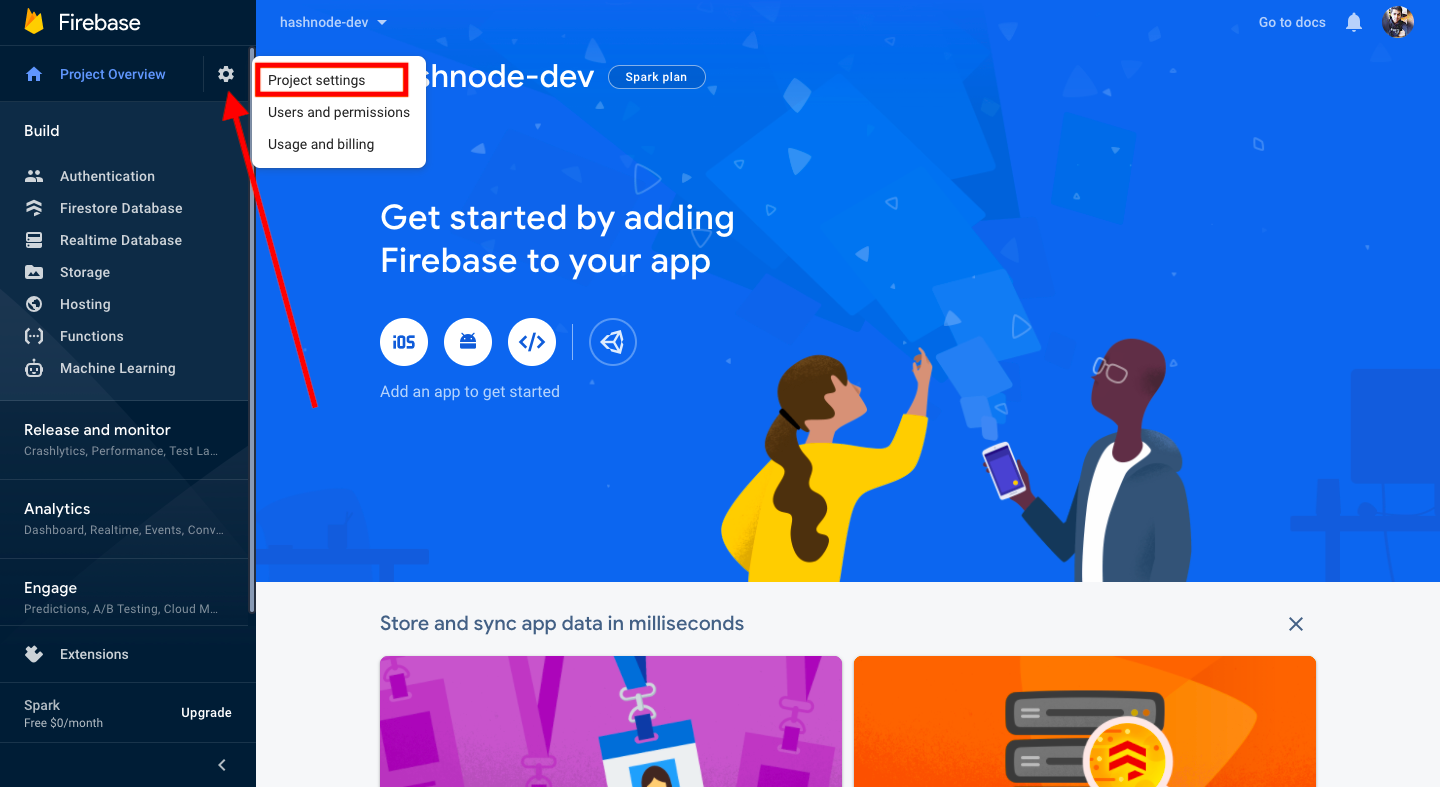
Great, now click on the setting icons and navigate to project settings as shown in the following image.
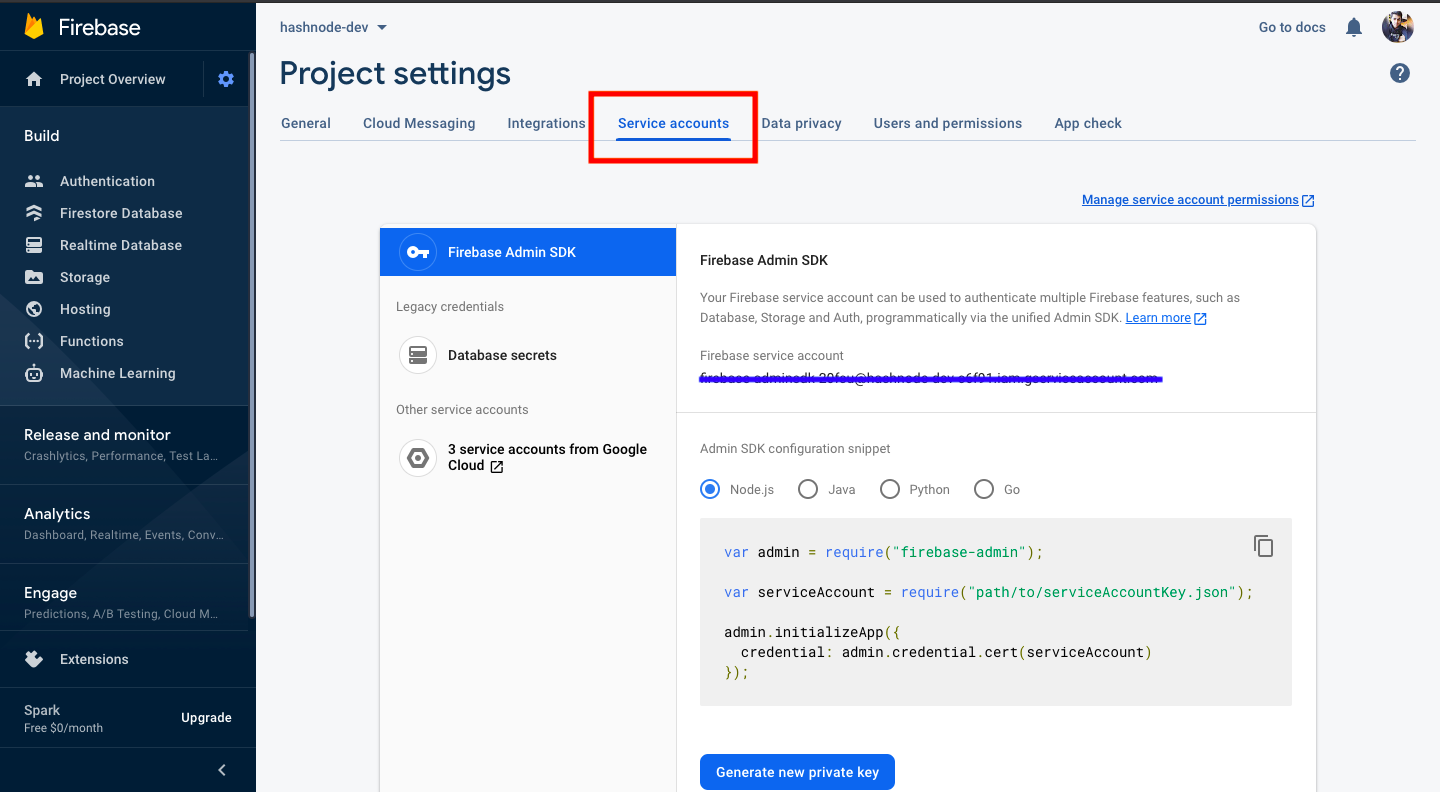
In project settings, navigate to the service accounts tab to download our credentials.
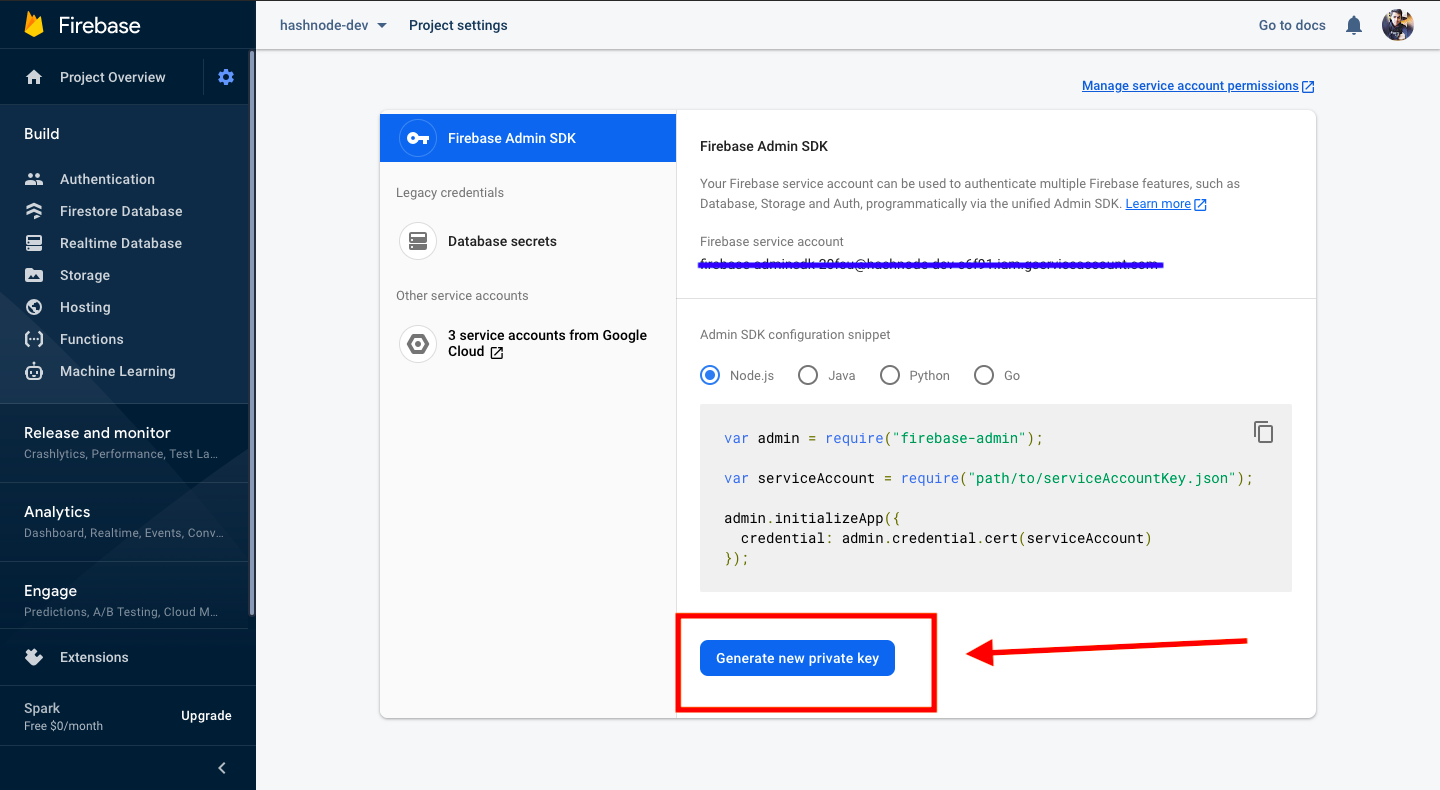
In service accounts, click on the Generate new private key button to generate your key.
Now, your credentials.json would be downloaded to your machine. Copy this file to your project folder where we are now going to build the project.
Let's Code
Great, as you have successfully set up your firebase account, now let's write some code.
Firstly, init your project by running the following command:
npm init -y
Great, now install the following dependencies.
- firebase-admin
- uuid
Command:
npm install firebase-admin uuid
Great, now fire up your favorite code editor. (vs-code) and code along with me.
Requiring the dependencies.
const firebaseAdmin = require('firebase-admin');
const { v4: uuidv4 } = require('uuid');
Importing our creditions.json file, the one we downloaded from firebase dashboard
// change the path of json file
const serviceAccount = require('./hashnode-dev-c6f91-firebase-adminsdk-20fsu-2d218c1c69.json');
initializeApp
const admin = firebaseAdmin.initializeApp({
    credential: firebaseAdmin.credential.cert(serviceAccount),
});
Create a storage refrence
const storageRef = admin.storage().bucket(`gs://hashnode-dev-c6f91.appspot.com`);
.bucket() function accepts the bucket name as a parameter. To get your bucket name, open the firebase dashboard, navigate to the Storage tab, and then click on Get started.

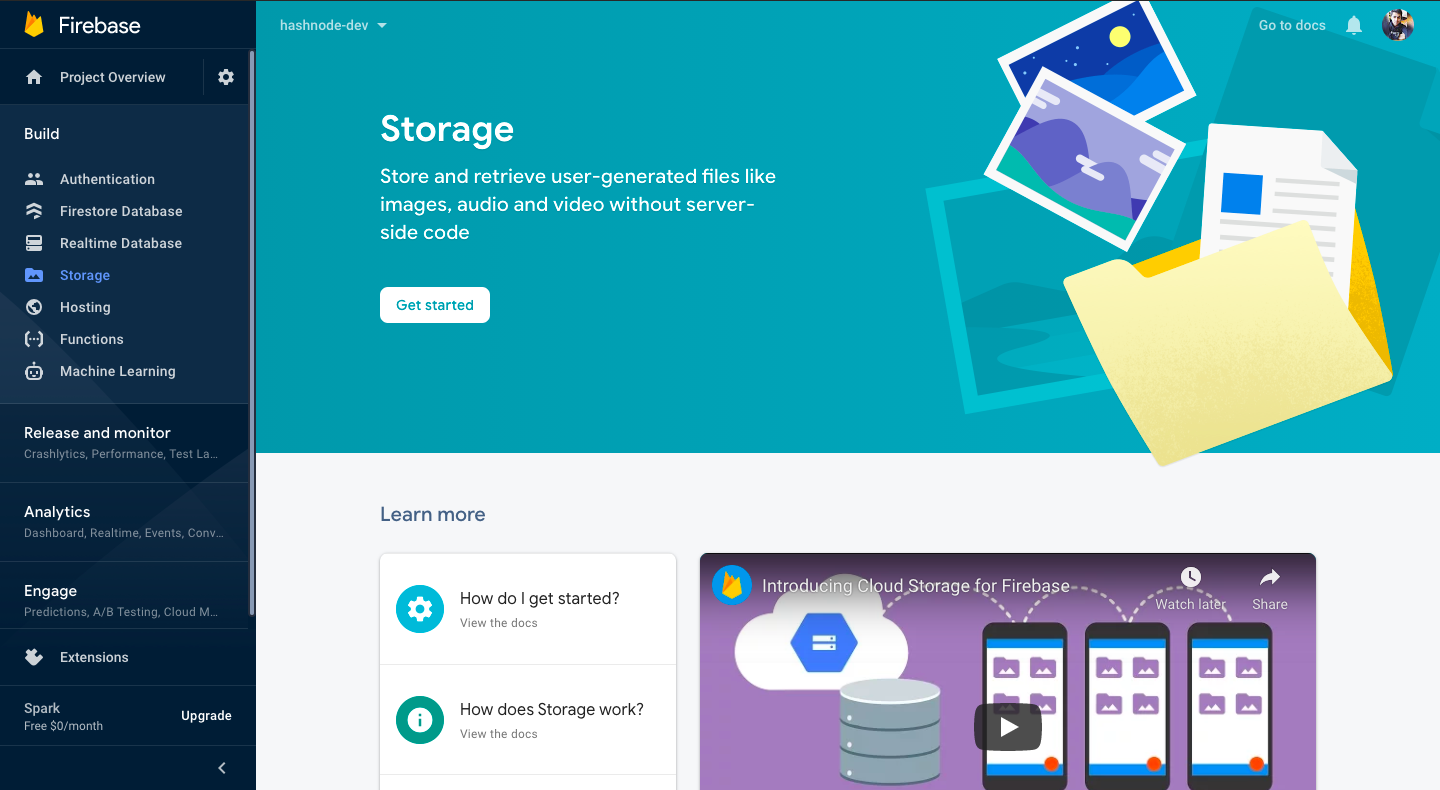
After clicking on Get started, firebase will ask you cloud storage location, you can go with default storage.

Now, copy the bucket name of your storage.
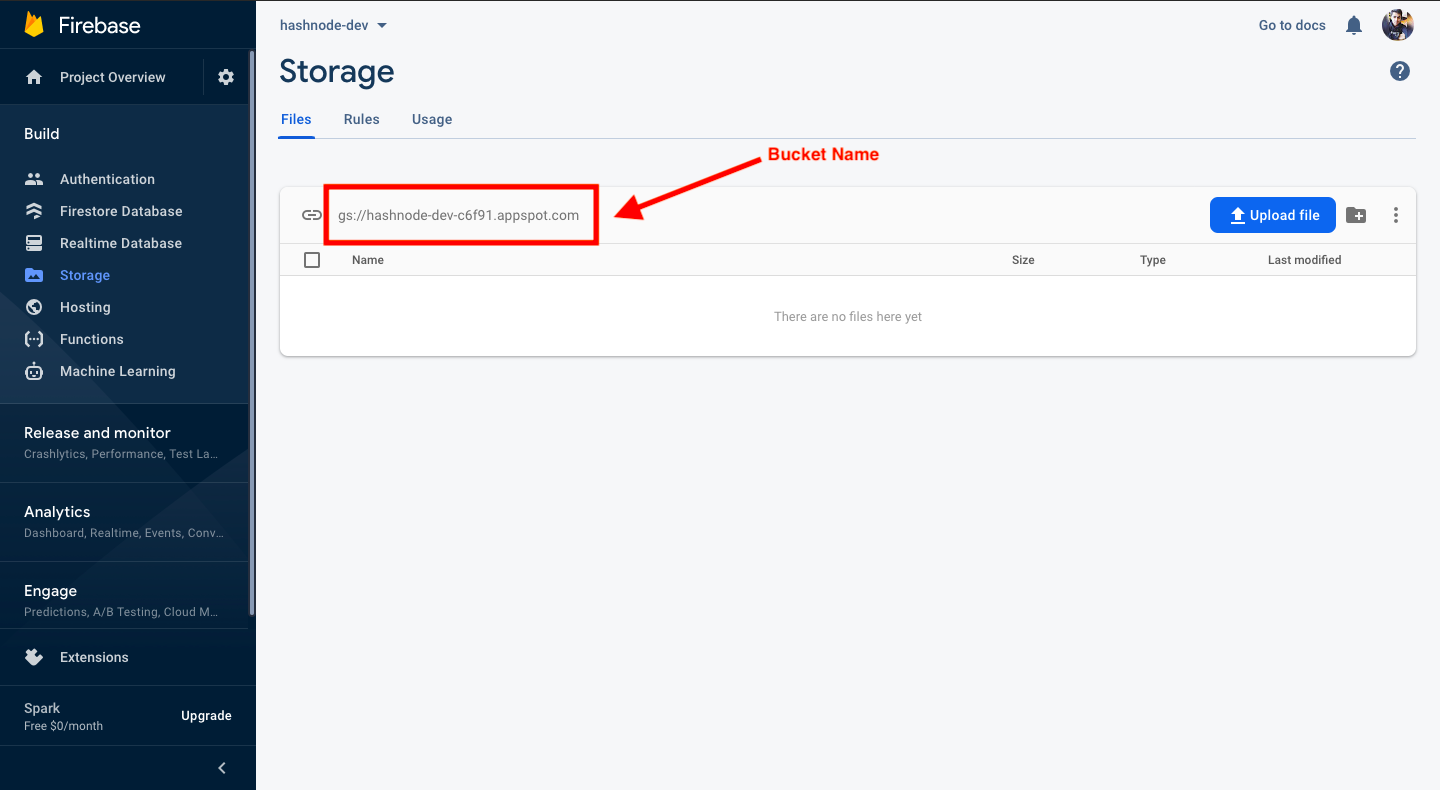
and then create a firebase storage refrence. (As we did earlier)
const storageRef = admin.storage().bucket(`gs://hashnode-dev-c6f91.appspot.com`);
Upload files
Now, create a simple function uploadFile that accepts filePath and fileName as params, and uploads the file to the firebase storage.
async function uploadFile(path, filename) {
    return storageRef.upload(path, {
        public: true,
        destination: `/uploads/hashnode/${filename}`,
        metadata: {
            firebaseStorageDownloadTokens: uuidv4(),
        }
    });
}
Great, now let's test our function.
(async() => {
    await uploadFile('./mypic.png', "my-image.png");
})();
Let's start the server: node index.js.
As you can see, my image file is successfully uploaded 🚀.
Creating public and downloadable URLs of the uploaded files.
So far, we have successfully uploaded the file to firebase storage, but we don't have a public URL that is shareable and downloadable. So, let's add some code and implement this.
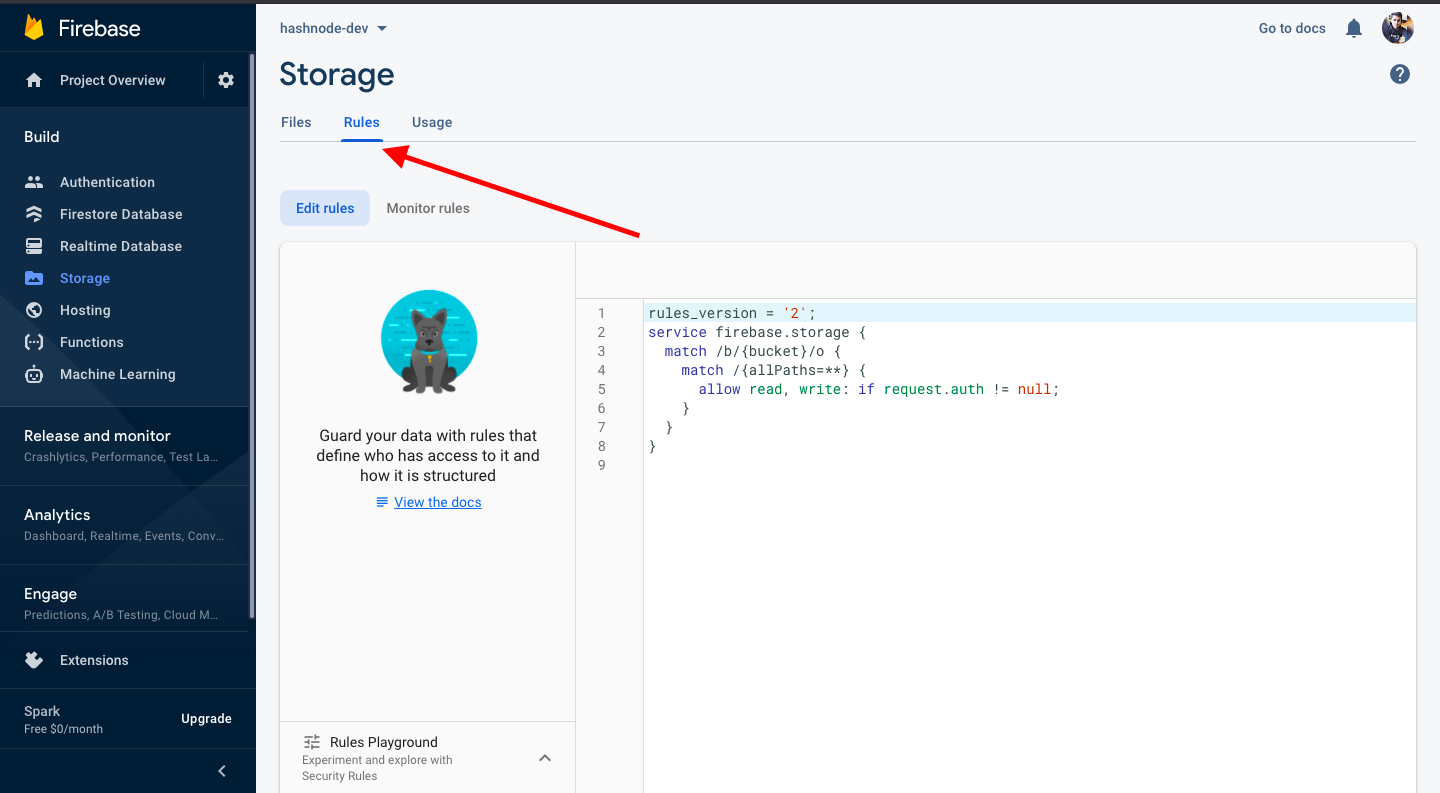
Edit rules in firebase dashboard.
In order to share the public URL, we need to change some rules in the Firebase dashboard. In the Storage tab, navigate to the Rules tab and change the default rule to the rule pasted below.

rules_version = '2';
service firebase.storage {
  match /b/{bucket}/o {
    match /{allPaths=**} {
      allow read, write: if true;
    }
  }
}
Great, Now inside the uploadFile function, Add the below code that is responsible for generating a public URL.
Updated uploadFile function:
async function uploadFile(path, filename) {

    // Upload the File
    const storage = await storageRef.upload(path, {
        public: true,
        destination: `/uploads/hashnode/${filename}`,
        metadata: {
            firebaseStorageDownloadTokens: uuidv4(),
        }
    });


    return storage[0].metadata.mediaLink;
}
Let's test our implementation
(async() => {
    const url = await uploadFile('./mypic.png', "my-image.png");
    console.log(url);
})();
Run the server: node index.js
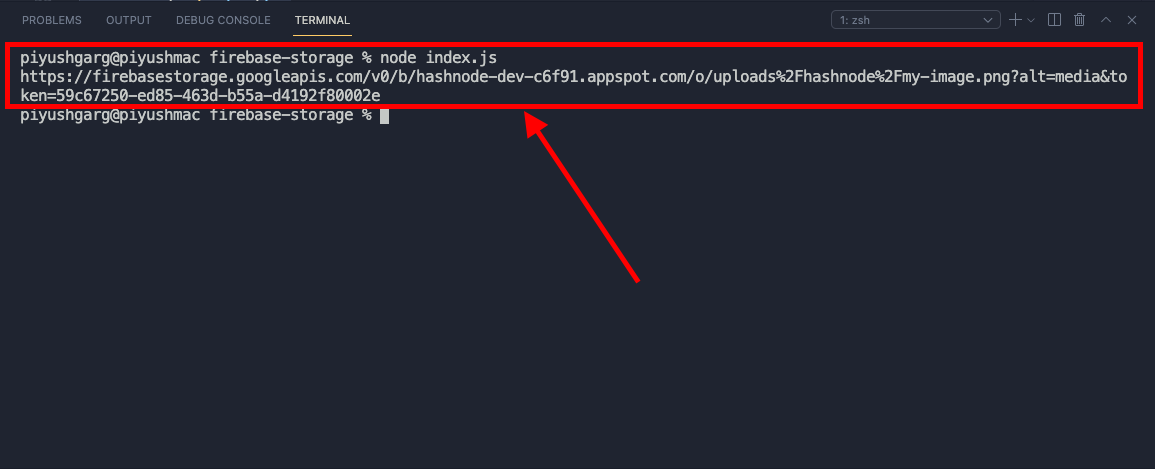
As you can see, I got my link to download the file.
Complete Code
// index.js
const firebaseAdmin = require('firebase-admin');
const { v4: uuidv4 } = require('uuid');

const serviceAccount = require('./hashnode-dev-c6f91-firebase-adminsdk-20fsu-2d218c1c69.json');

const admin = firebaseAdmin.initializeApp({
    credential: firebaseAdmin.credential.cert(serviceAccount),
});

const storageRef = admin.storage().bucket(`gs://hashnode-dev-c6f91.appspot.com`);

async function uploadFile(path, filename) {

    // Upload the File
    const storage = await storageRef.upload(path, {
        public: true,
        destination: `/uploads/hashnode/${filename}`,
        metadata: {
            firebaseStorageDownloadTokens: uuidv4(),
        }
    });


    return storage[0].metadata.mediaLink;
}

(async() => {
    const url = await uploadFile('./mypic.png', "my-image.png");
    console.log(url);
})();
Thank you for reading. Happy Learning 🚀.